The Hinge Pillar Assembly
The weather has been reasonable for January so I continue to make progress on the frame reconstruction. I am using 3/4" wide Poplar to make the needed structure members. Poplar is a closed grain hardwood and is easy to shape and takes paint and stain very well. By using 3/4" width planks it is very easy to make mortise joints. In some cases I need to trim the stock lumber on my table saw. This works well and facilitates not having a planer for exact width.
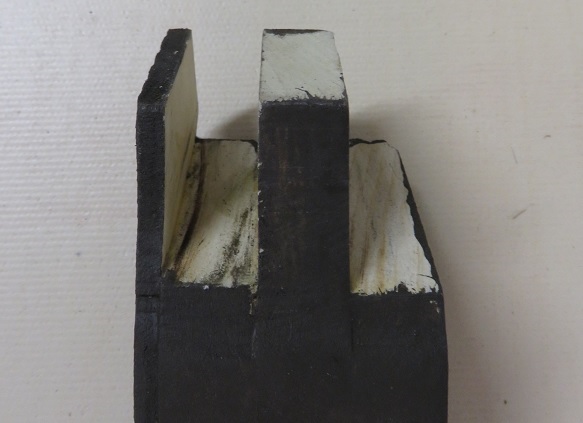 |
The joint on the left is the lower hinge pillar connecting
the wheel well section to the perpendicular section of the
rear door. It was constructed of four pieces. Three with a thickness of 3/4" and one section with a thickness of 1/4" for an overall width of 2.5 inches. |
Below is the lower section of the Left Hinge Pillar Assembly
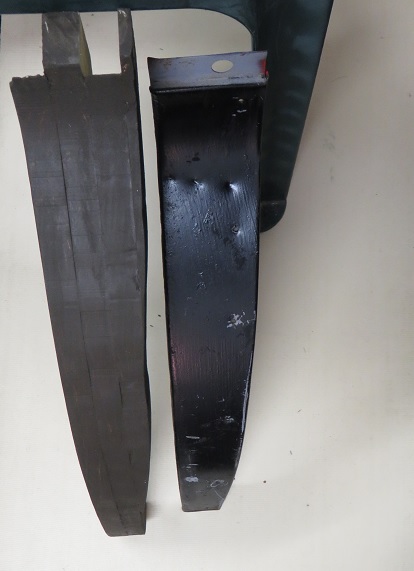 |
The left side of the frame member is square even though it
doesn't appear that way in the picture. The left side is
the side that faces the interior part of the car. The right side of the wood member is tapered and fits against the metal body and will need some minor sanding to fit perfectly. The top dimension is 2.5" and tapers to 1.5" at the bottom. To the right of the wood piece is the wheel well metal trim which covers the wooden frame member. |
Below is a picture of the first stage in making the upper left Hinge Pillar assembly.
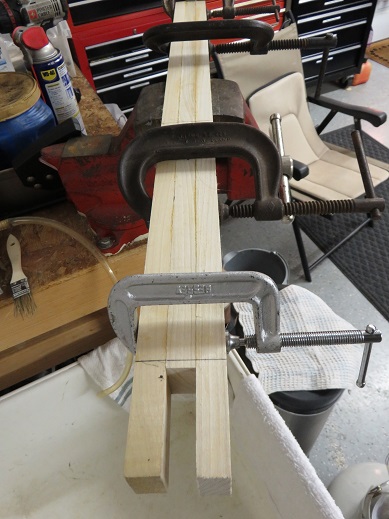 |
The upper rear Hinge Pillar is 2.5 inches wide at the bottom
hinge and tappers to 2 1/4" in between the middle hinge
and the top of the door frame. Constructing this 2.5 inch wide hinge member require trimming the center piece on the table saw to ensure a perfect fit to the lower pillar assembly. Also the next step will be to glue a 1/4" piece which will be sanded to create a tapered fit to the metal body. Utilizing the table saw the finished piece will be cut to a depth of 2 1/4 inches to facilitate the interior window frame and allow for the window mounting hardware. The door hinge mortise will be cut using a router to create a perfect depth and alignment. |
I gave the Iron Support Plate below to my local machine shop to media blast. I will Paint Flat Black.
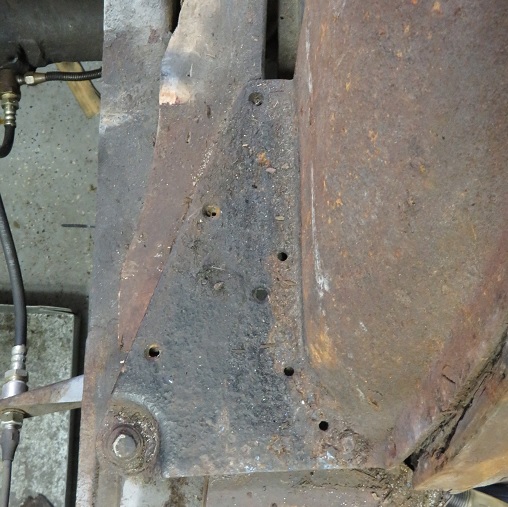 |
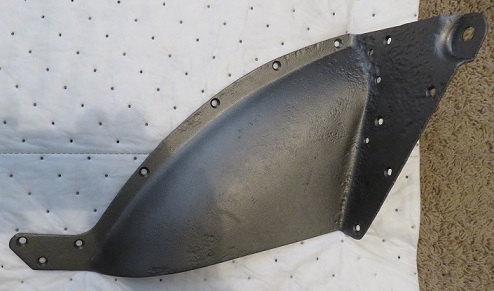 This iron support cleaned up very nicely after being media blasted. |