Creating the Main Sill Assembly
The main sill member is approximately an inch and three quarters in thickness. I will be making the sill from three pieces of wood. Two lengths three quarters of an inch thick with a 5.3mm (0.205 inch thick) surface of finish Lauan plywood. This produces an overall thickness of an inch and three quarters minus forty thousands of an inch to compensate for glue and facilitate fitting.
I am using three pieces of wood for two reasons. One; gluing woods together with different grain patterns create strong and straight members. Two; Cutting precision curves is easier to do with a jig and scroll saw with wood 3/4" or less. My home shop is limited to a table, miter and scroll saw. I will also be using a hand jig saw for large surface curves.
Step 1:
Before I could do anything I needed to create a precision Template that I can use to create the six pieces of wood I will need to create the left and right sill members. I spent a considerable amount of time measuring and calculating the position of the three important body sections, the cowl, the center pillar, and the rear body. Fortunately I discovered that the sill member pins to the frame in 8 places and defines the positioning of the three previously mentioned body sections. See diagram below.
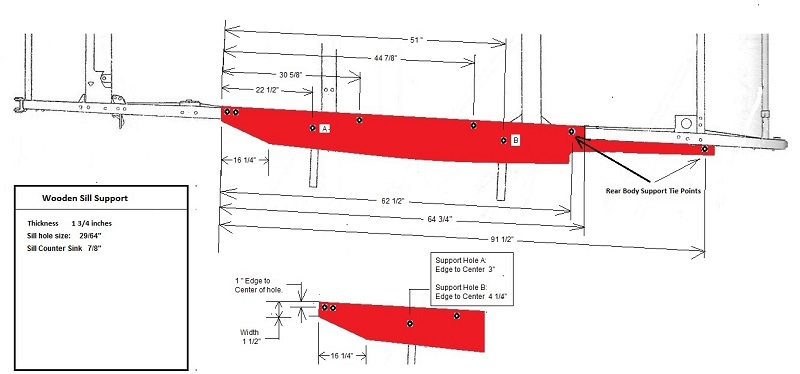 |
Below is the result of many hours and careful measurement. I am expecting to be able to reverse this template and use it for both the left and right sill members. See pictures below.
  |
Step 2: Creating the Sill Member
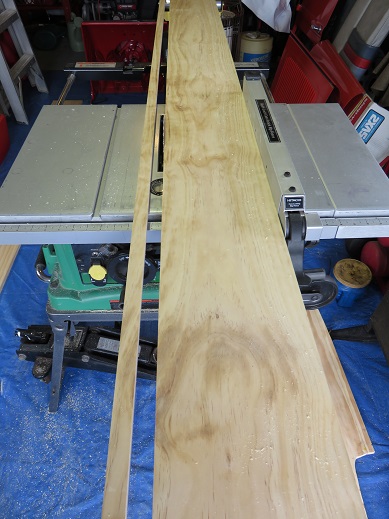 |
The width of the Sill Member is 8 1/4" so I needed to rip a 1 x 10" board 8 foot long to 8 1/4" wide. |
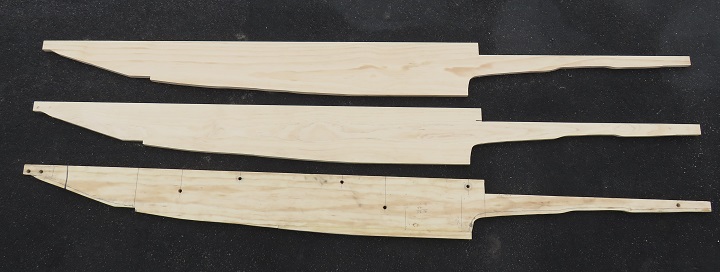
I applied the template to the cut boards and created two wood
sections 3/4" thick and I also cut my top finish piece of plywood.
The holes will be drilled later into the finished Sill Member before
installation. The bolt holes will be mortised into the finished
product utilizing a 7/8" Forstner Bit
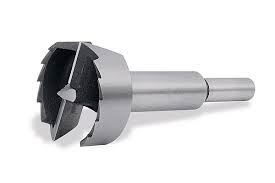 to create a flat recessed hole so the bolt head can be recessed and
flat to the top surface.
to create a flat recessed hole so the bolt head can be recessed and
flat to the top surface.
 |
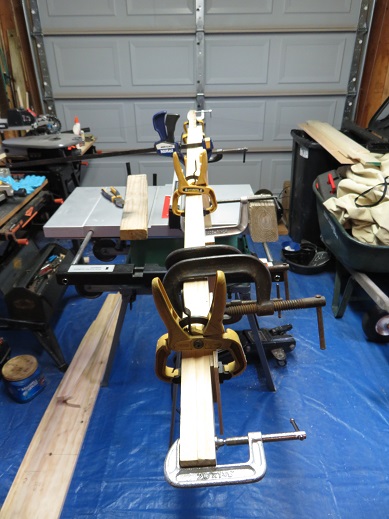 |
I assembled and glued my cut sections. I cut the top
finished surface section 5" short of the front end to allow for
the Cowl bracket to align properly. Since this area is
behind the toe board I didn't see any reason to mortis this 1/4"
thick metal bracket into the finished plywood section. Also I did not put finish plywood on the small section of wood between the iron wheel well support and the rear section support. This area is not visible once the rear seat is installed. I will be attaching the rear seat section to these exposed surfaces. I kept the sill clamped for 24 hours and in a heated environment to ensure proper bonding. |
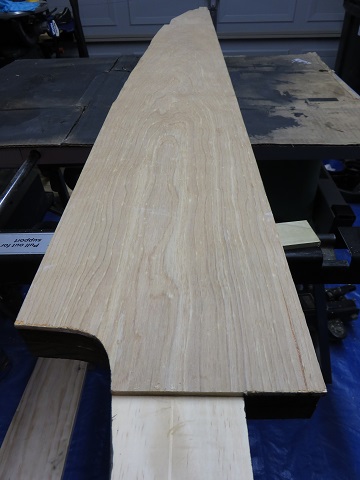
| My finished sill member looks great.
The finish plywood is beautiful and will take a nice light
stain. It's a shame that this and the other surfaces will
be covered with rubber matting in the front and carpet in the
rear. A coat of varnish would really spruce up this wood surface. I might just do it anyway !!! |
 |
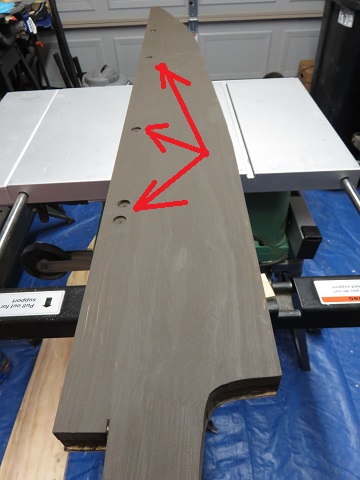 |
I treated the bottom of the sill with Olympic Maximum
Exterior Deck Stain & Sealant. This surface coating will
protect against weather and insects. I drilled 3/4" flat holes in areas where my template show indents from frame bolts and rivets. This way the sill will lay flat to the frame. |
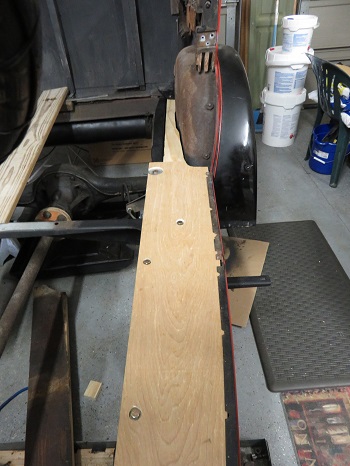
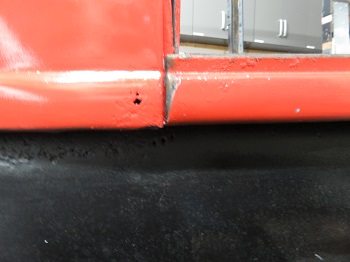
Before I installed the Sill Member I did some minor metal conditioning to the top frame surface and body sections. Basically I cleaned and painted prior to installation. Below are pictures of the installed sill. The tolerance of the template was tight so installing the sill board required a lot of patience to get all eight bolts aligned. The good news is that once aligned the body sections came together perfectly. Of course we will have to wait to see how the doors align but I don't believe that I should have any problems now that the body sections are aligned correctly.
 |
 |
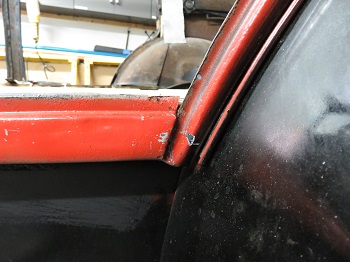
The door edge molding went on correctly and positioned perfectly front to back. I will permanently install this molding once the doors are in place. Any slight adjustments will be done at that time.
 |
 |