The New Hinge Pillar Installation
I have been working on this complex wood assembly for a considerable amount of time. The main reason this item is taking so long is the complexity and also the need to be cautious. A mistake or inaccurate measurement could render the previous work useless and I would have to start from scratch. The opposite side of the car should go a lot easier since I have retained patterns of the wood members. The basic patterns can be reversed for the opposing side.
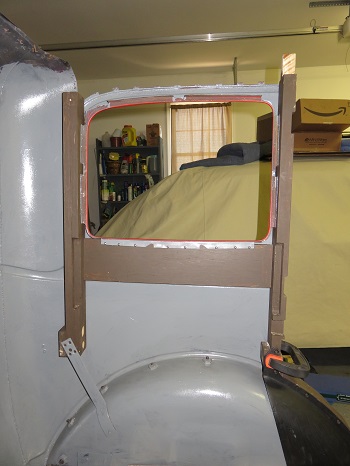
Since I am replacing the wood structure the four pieces that are required for the Hinge Pillar alignment need to be installed together. I spent the day fabricating the rear window frame components. These minimum pieces need to be installed together and are dependent on their mutual alignment to ensure correct positioning of the Hinge Pillar.
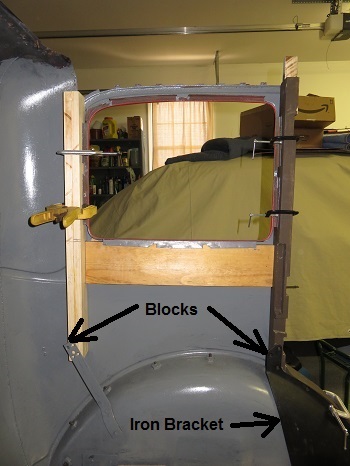 |
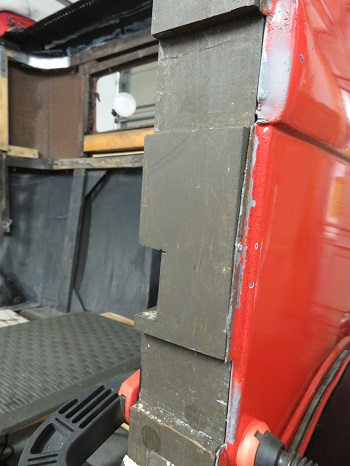
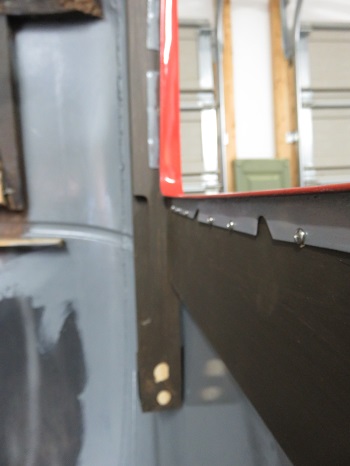
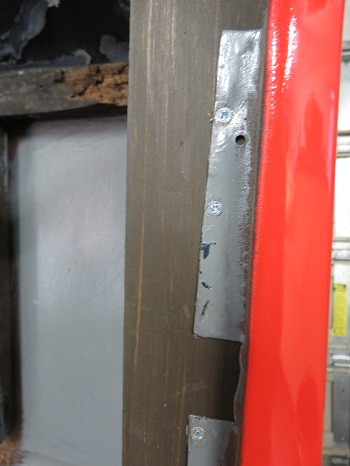
The Hinge Pillar is held in place by the iron support that is bolted to the Sill and frame. The Window back board and rear window frame are attached to the window flange and need to be positioned properly to ensure correct support to the metal skins. The rear window frame attaches to the bottom bracket on the wheel well. Once attached to this bracket and the iron support the metal skin becomes rigid. I will need to add support blocks to the outer side of the rear window frame and the bottom of the Hinge Pillar. I also need to route out the recess mounting for the window crank assembly board which will be installed much later down the road. Once everything was in alignment I marked the position of the window back board. I used my drill press to drill screw holes through the rear window frame. I also aligned and drilled starter holes into the window back board. When I install these woods I may apply glue to the joint and use 3.5" screws to bond the joint together. However once this is glued the only way this frame can be removed is by cutting the window back board. Remember I chose to use a one piece board. This is the down side to this choice. I probably will use three 3.5" screws without the glue. This way the assembly can be removed if necessary. |
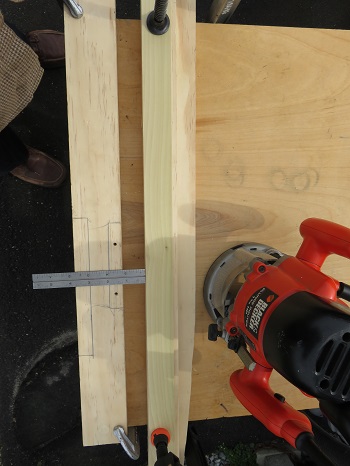
In order to create the various recessed sections I use a router and a flat cut bit. By creating a fence for the router to rest against this ensures a perfect straight line. No special tools are required just a couple of clamps. In the case below I used wood but I do have a metal fence guide that I could use if the project requires it. For these small sections a block of wood is sufficient. See below:
 |
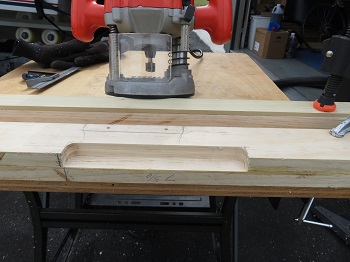 If necessary you can use a chisel or Dremel tool to square the corners. |
After installing the blocks and routing the rear window frame for the window crank assembly I painted all surfaces to protect the wood pieces.
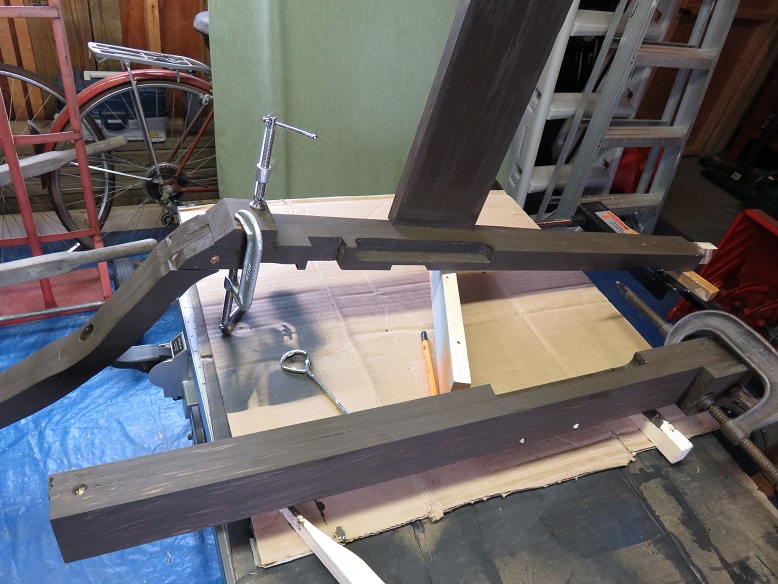 |
I let these pieces dry for a day or two then I assembled the frame on the metal skins. It's amazing how the wood frame stiffens the metal skin and provides shape to the body. See the pictures below:
 |
 |
 |
 |