The Passenger Side & Rear Cross Sill
With the complicated work of creating the driver's side sill completed, creating and installing the passenger side sill was completely uneventful. As expected the template I made just had to be reversed to create the passenger sill. Everything bolted together correctly.
 |
My attention turned to the Rear Cross Sill which supports all the rear frame members and also ties the Left & Right sill members together. I had enough of the original sill to determine length, width, and thickness. My next step was creating a template out of cardboard to determine the body shape and the exact location of the metal flange holes which I will use to attach the metal skin to the cross sill.
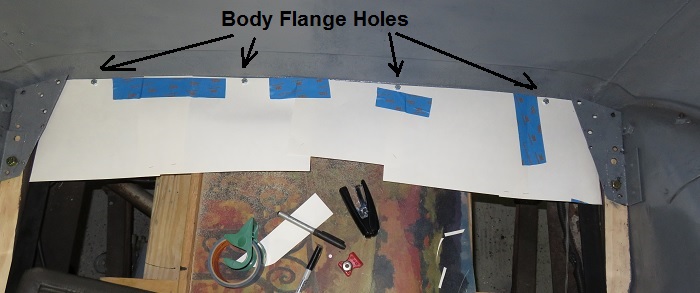 I am using stainless steel architectural grade 1.5" threaded posts to tie the steel flange to the wood cross sill. It is very important that my template mimicked the exact location of the flange holes to ensure the proper fit of the cross sill. The cross sill thickness was 1 3/4" so I needed to cut two pieces of 3/4" hard wood. Of course once the first piece was cut, drilled, and checked for accuracy; I created the second section. The holes were drilled on my drill press to ensure accuracy. 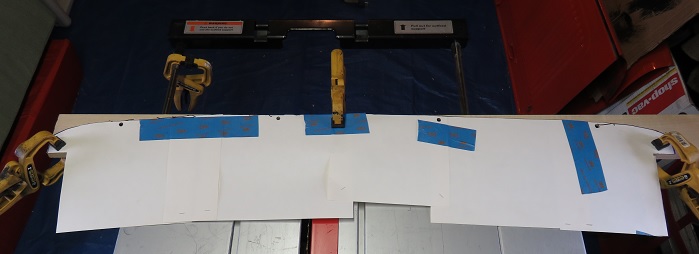 |
Installing the cross sill appeared at first to be complicated but went together easily.
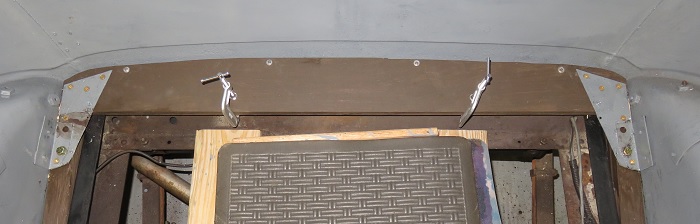 |
I needed to lift the metal body up high enough to insert the 1.5" posts before installing the first sill plate. Once the four posts were in place I lowered the body back down to its' proper location. I used star washers under the flat posts to ensure that the posts would not move when I applied pressure and when tightening the joining screws.
I placed wedges under the posts and installed the first wood section then applied wood glue to the top surface then installed the second piece of wood over the first. I used the four post screws to join the two sections of wood and to join the wood to the metal car skin. I added two clamps to assist with the joining of the wood surfaces.
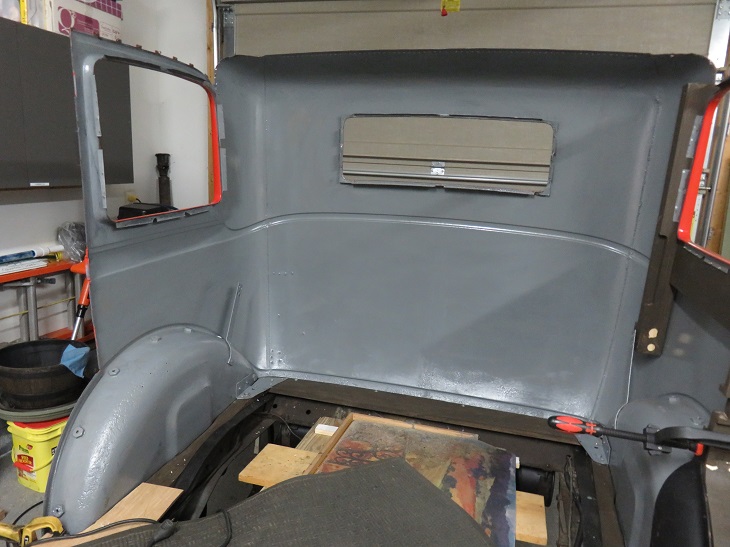
After the cross sill was in place I removed all the remaining wood framing. It appears that I will be able to fix and use some of the rear window frame members and most of the top.