Rear Window Frame Assembly
With the lower window framing completed I moved ahead with the construction of the upper window frame assembly.
 |
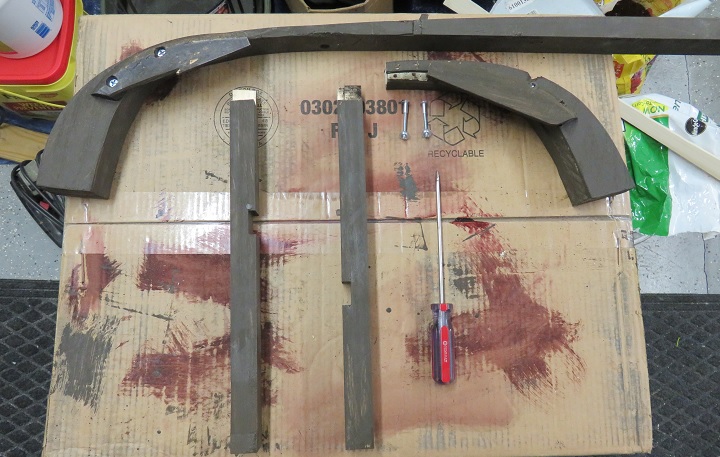
I used the surviving upper wood window frame
member to create the arc needed for the lower window frame.
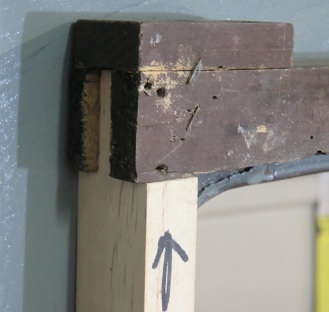
I also recreated the original lap joints to join the new side window frame wood to the upper original frame member. I will later trim off the 1/4" excess. Since the supports for the upper cross member will attach to the window side frame I didn't see any reason to go the extra step to recreate an exact one inch thick side window frame. The stock 3/4" width will work fine. After all pieces are connected, the total thickness of the side window frame will be one and one half inches. |
|
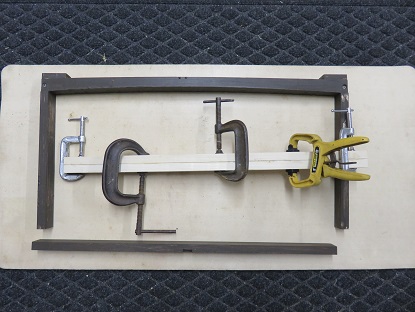
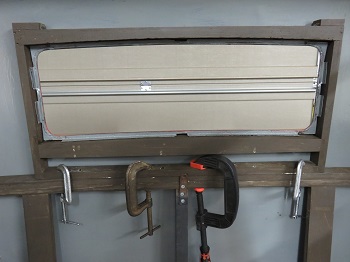
Creating the upper window frame was straight forward:
|
 |
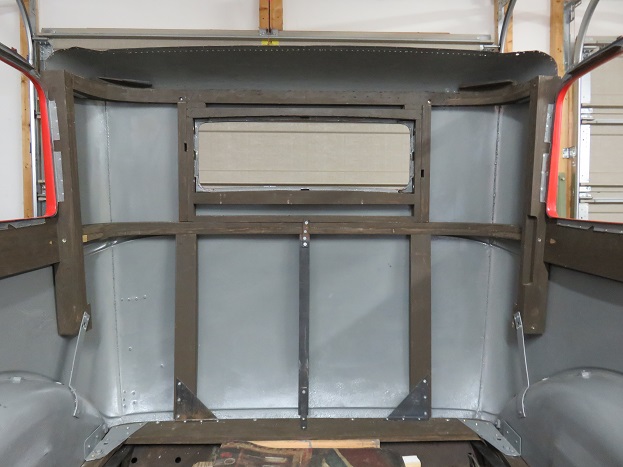
All wood pieces were assembled into the car to ensure everything fit properly before installed. See photo below.
 |
 |
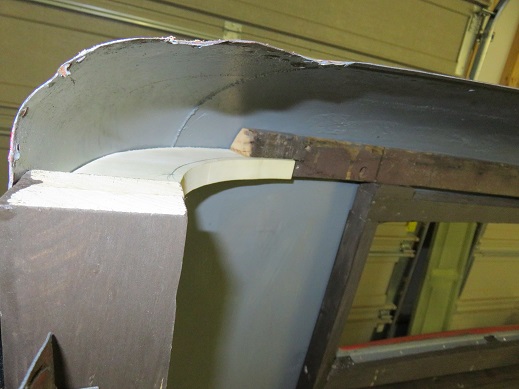
To finish off this section I will need to repair what is left of the top cross member and fit it against the rear side window frames. This wood member is tapered against the upper steel skin and is a little more complex than the previous sections. The good news is that about 70% of the old wood member is usable so I will be joining new wood to the old member in an effort to complete the rear window frame assembly.
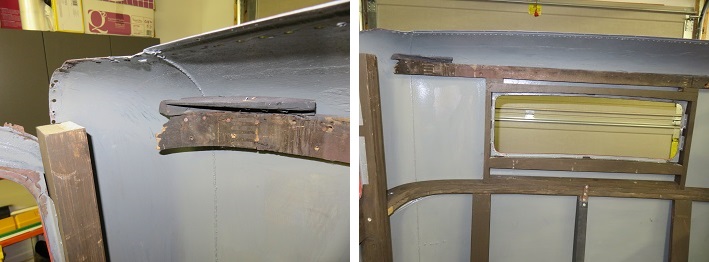
Both end pieces of this cross member were rotted away so I started by aligning the old cross member and creating a rough template to cut new wood for the left side. Since the left and right sections are not mirror images of each other, once the left section is completed and fitted into the car I will create the right.
I created two rough ends which I will combine to complete the rotted left section. I am building this piece by first fitting and joining the bottom replacement section then building on the result. This wood member requires a great deal of hand work in order to get this piece correct.
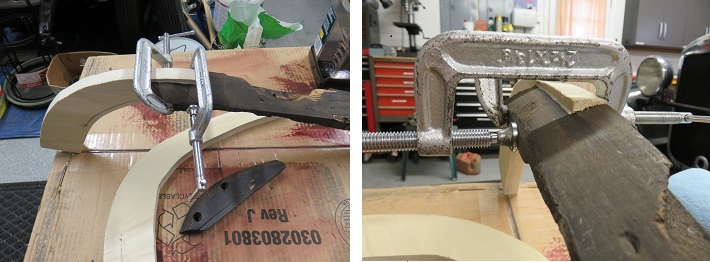
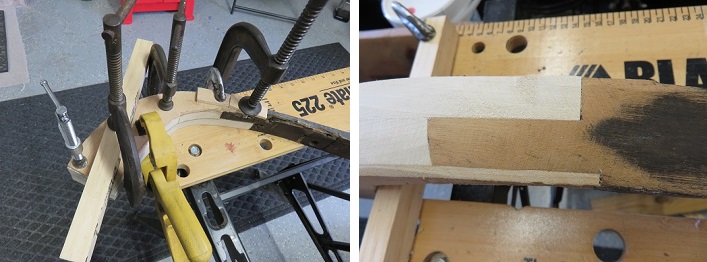
I glued my pork chop shaped end piece to the old cross member.
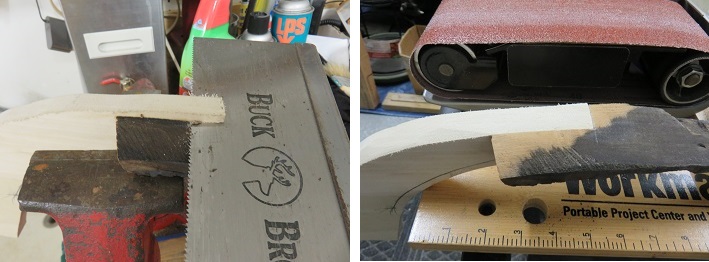
I used a hand saw to trim the excess off. Then I used my floor sander clamped onto my work table as a shaping tool to sand the new wood section flush to the old cross member.
 |
The piece fit perfectly. Now I will fit and glue together the next rough piece. Although this method may seem time consuming, I believe that gluing these different sections together is much stronger than fitting a single piece of wood to the old cross member. The opposing grains glued together provide extra resistance against the wood cracking across the grain. Same principle as an I beam. |
|
I cut two more wood pieces and fitted them to the left end of the upper cross member. I cut the cross member to create a lap joint once all pieces are assembled. I sand and fitted the cross member into the car. It is necessary to get a perfect fit in order to accurately recreate the right side.
Creating the right side of the cross member was exactly the same as the left (passenger) side. The only difference is the right side is fitted to the cross member when installed into the car. The lap joint I will create for the right is the same process as the left, the only difference is it will be drilled for two clamping screws and glued in place when installed into the car. |
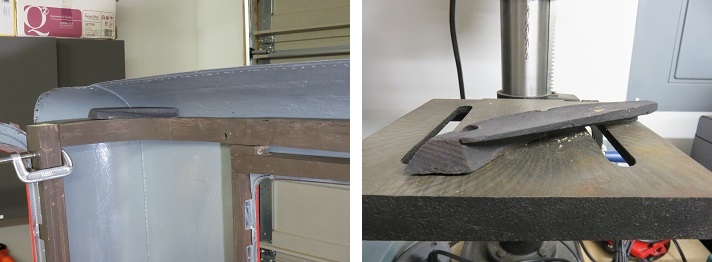
Both the left and right sides of the upper cross member had upholstery chucks which I am assuming were in place to define the end of the headliner in relationship to the wall upholstery.
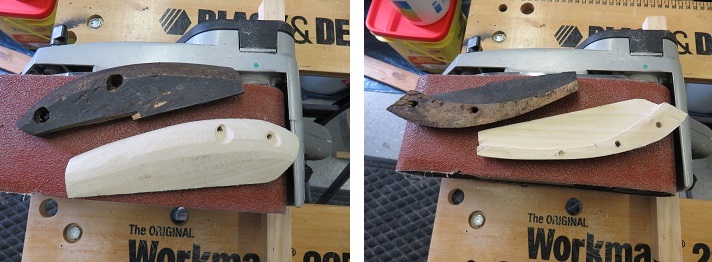
Since only one original chuck existed I needed to reverse the design to facilitate the right side of the car. I created the base piece with the scroll saw, routed the curve by hand and sanded the slope to mimic the slope of the original piece. Below is a picture of the finished product.
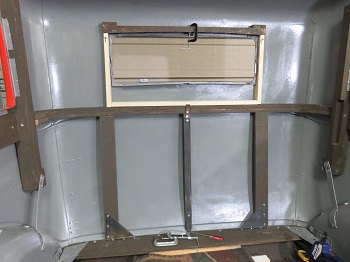
Below is a picture of the completed and fitted pieces of the upper rear window cross member.
The end result of the work.