The Cowl Frame Assembly
With the rear frame section completed, I moved my attention to the Cowl Assembly. Once this section is completed I will be able to hang my doors and position the center door column supports and I will be able to start work on the roof members.
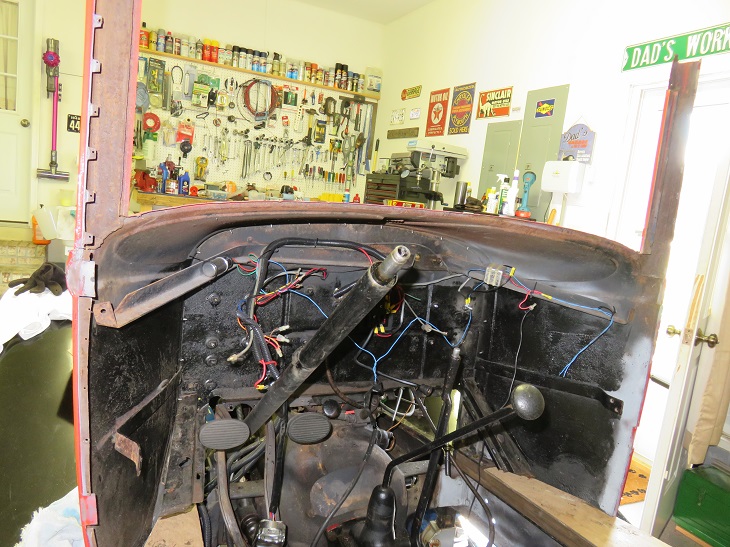
I started by striping the Cowl down to the frame pieces or in my case what's left of the original frame. I removed the dash and the upper window metal which included the metal front door hinge pillars and windshield. I also removed all the component parts from the dash.
The picture below is a view of the back side of my dash. I believe the blue paint is the original body color of my car. So I am assuming that the area of the dash behind the front windshield was painted the same as the Plymouth body color.
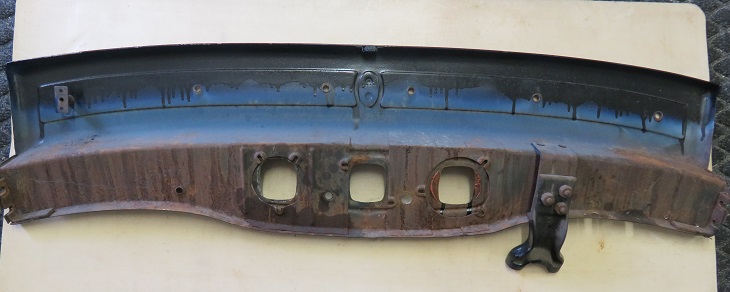
It appears that the Cowl consists of three wood members. The center dash and windshield support and the left and right side front door hinge pillars.
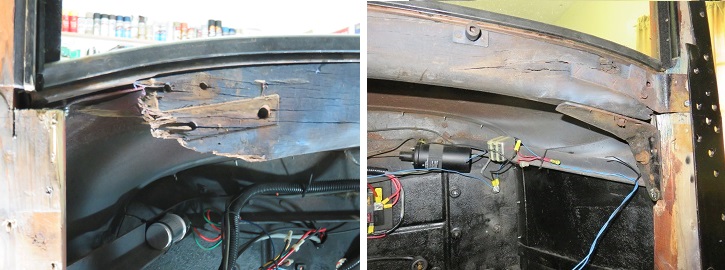
The only original wood left was the center windshield support. I will be able to use this piece by joining new wood to the left and right sides. I will be able to use the metal hinge plates to fabricate the wood hinge pillars. So the cowl is basically three wood members joined together with the rigid metal supports. The good news is that I have them all. The bad news is that most of this area has been subjected to very crude repair and restoration.
The Cowl Hinge Pillars
Step one in this process was to take plenty of pictures before I remove all the wood from the cowl.
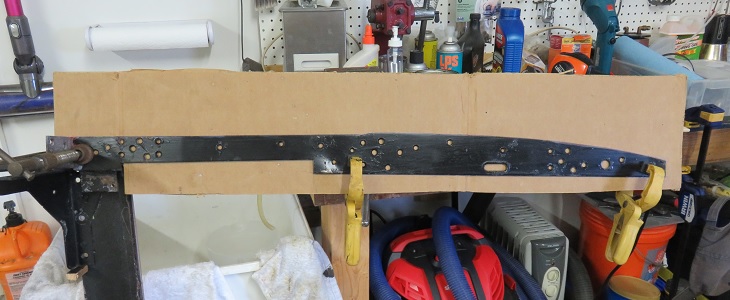
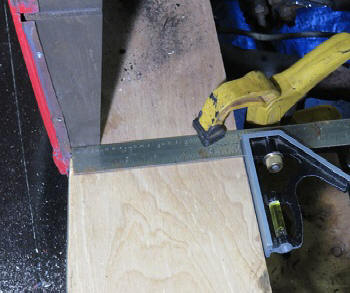
The next step was to use the metal sill covers to create a rough template from which I would make a wood template. The card board gets us into the ball park but the wood template allows me to make corrections and also fit the wood for the reality of the situation.
 |
The cardboard template was close but made it
apparently clear to me that the metal skin was grossly out of
alignment. I decided to square the wood template to the
windshield and dash. The inner edge of the door template would be
90 degrees to the sill, dash, and window frame. In order to properly hang any door you need to start with a door frame that is as close to square as possible. I do not believe that this car would have been manufactured with a hinge pillar that was not square to the sill both left to right and front to back. Of course this would mean that the windshield would also be square. left to right and top to bottom. After creating the wood template I checked it against the front door. It aligned perfectly. |
I made the hinge pillar in two separate sections. This allows for easy installation by gluing the two sections together when I install the hinge pillar into the car. I want to have this wood hug the skins as closely as possible. This is the only way I can accomplish this without doing harm to the metal skins.
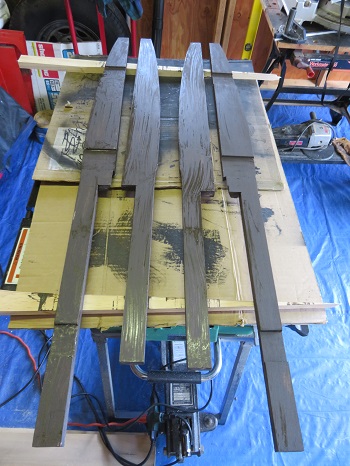 |
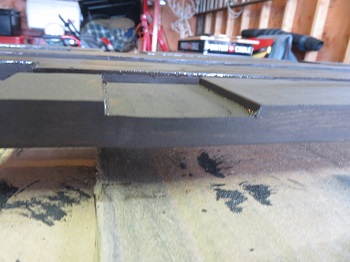 Once the initial template was created including the hinge recesses, it was just a matter of inverting the template to make the opposite side. Once all the woods were created I painted them with the protective stain. |
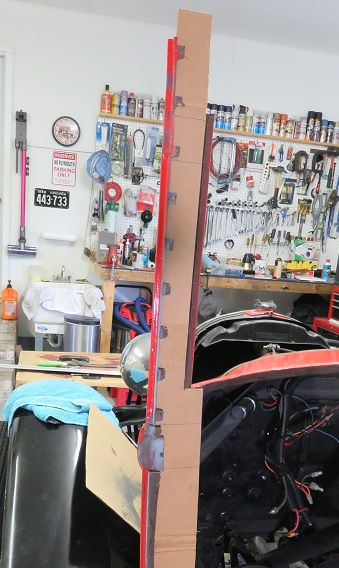
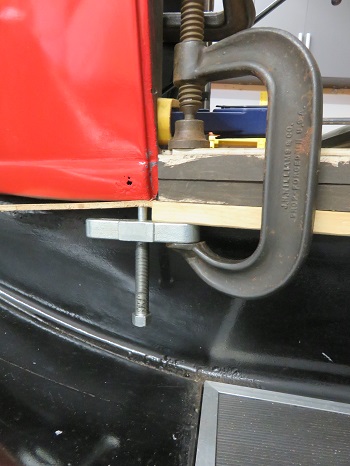
| Aligning the cowl to the sill was essential to getting the hinge pillar installed as close to perfect as possible. It took a considerable amount of time fitting these wood pieces into place. I made a number of corrections to the wood pieces to accommodate a flush fit. |
 |
|
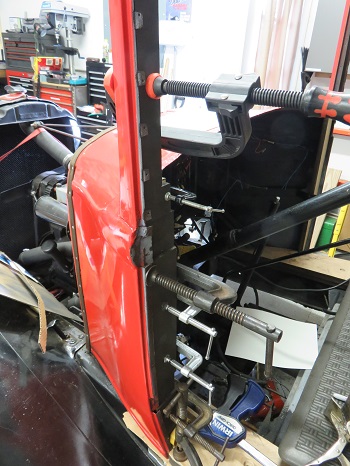
After the sections bonded I fastened the hinge pillar to the steel skin. As with the rear skins, I am using #4 flathead Phillips screws instead of nails. It's a better fastening method and once completed will not be visible. Just in case I didn't mention this before I am using a countersink bit to ensure the screws lay flat to the skins.
 I believe this worked out well. The hinge pillar added incredible strength to the driver's side cowl. The skin and window frame aligned into place and everything is square. |
 |
Now I will duplicate the passenger side and then move onto the Dash.