The Dash Support
The dash frame member was in place but badly rotted. The good news is that there is more then enough of the old wood to accurately duplicate a new wooden dash support. Before I removed the old dash support I marked a reference point on the car and also on the old wood member. This is important for aliening the 6 studs that attach the top of the metal dash to the wood support. Everything created in this process is accomplished with reference to the position of this center mark.
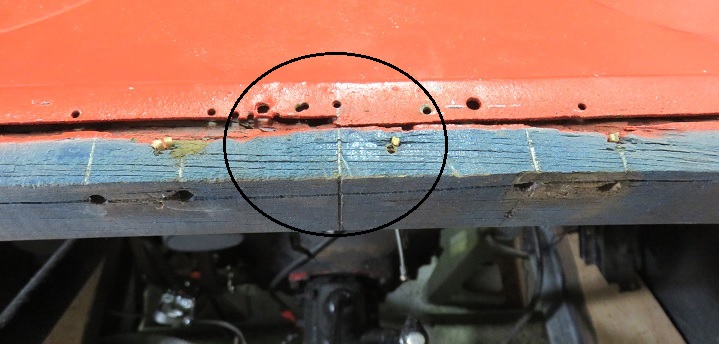
The dash support member is a sculptured piece of wood 1.5" thick, curved to the windshield radius, and stepped to mitigate the difference between the metal skin and the windshield molding. The bottom of the piece is rounded with a 7" flat that the bottom dash support bracket attaches to. This bracket also ties the bottom dash support to the hinge pillars.
In order to make this piece I will use two 3/4" thick hardwoods glued together to allow for the 3/16" top windshield step, which luckily measured 3/4" wide.
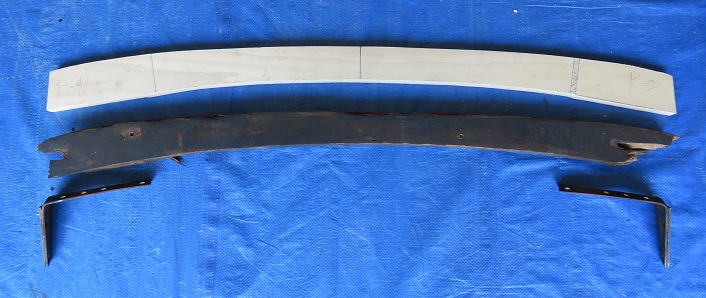
I created the first piece using the original wood member as a template and using the center mark to ensure that the dimensional reference is correct. Once this piece was made I installed it into the car to ensure that the windshield radius was correct. I will use this corrected and fitted wood member as a template for the front section which will be 3/16" larger to make the windshield step when they are glued together.
 |
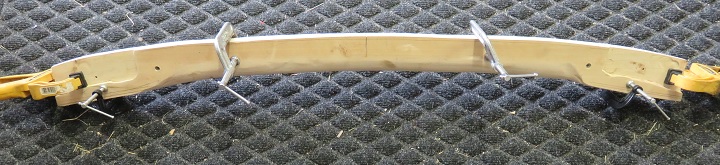
I created the second
piece or front dash section making it 3/16" bigger than the first
piece thus creating the molding step. I spent a lot of time shaping and fitting this piece. I routed and sanded a curved radius at the bottom, mortised for the top metal brackets. And created the 7" flats on the bottom with my miter saw. Also I squared up and bolted the top iron section together. Its important to get everything together and fitted properly before I make permanent adjustments to the dash support. |
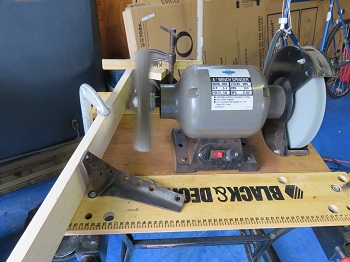
I also cleaned up the
iron hardware using the wire brush on my grinder. Painted with
flat black.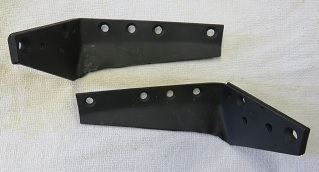 |
 |
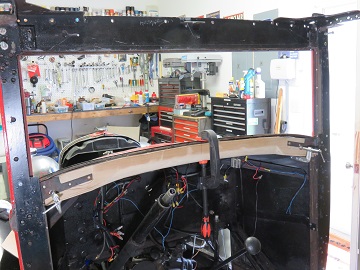
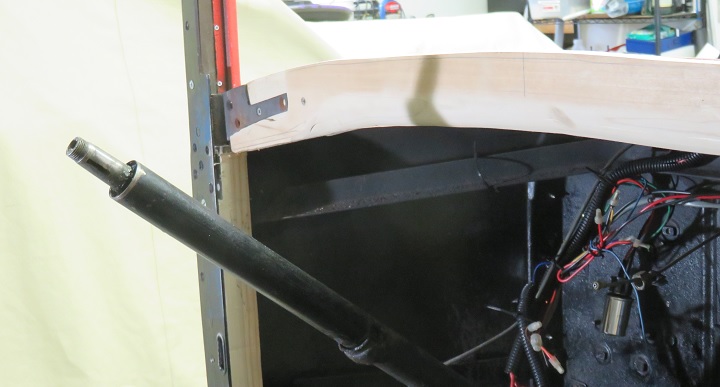
Lots of work fitting and adjusting the cowl so that everything goes together properly. I will mortis in the bottom brackets once the dash is properly placed and the final hinge pillar supports are in place. This may have to wait until I hang the doors and fit the center door columns.
After the dash support was fitted, checked, and double checked I removed the wood pieces and glued them together.
Once the glue was dry I used the original dash support to locate the positions of the top dash offset spacers. It's important that everything lines up properly before the final assembly. I installed the supports at the far ends of the dash so that I could reinstall the new wood support and be able to mount the metal. Once accomplished I can verify that the dash positioning is correct. I only mount these two standoffs so it would be easier to make corrections if something didn't align correctly. The good news is it aligned correctly. 3/16" space on either end to accommodate the bottom dash support hardware.
Since the positioning checked out perfectly, I removed everything again and installed the rest of the top dash standoffs.
 |
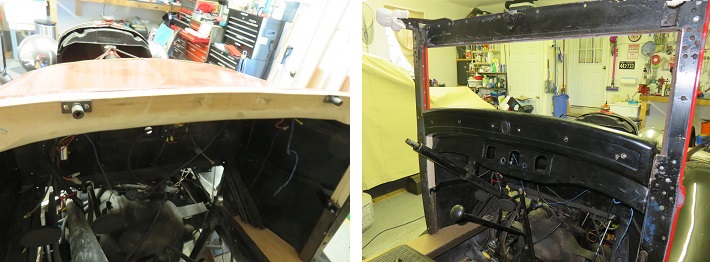
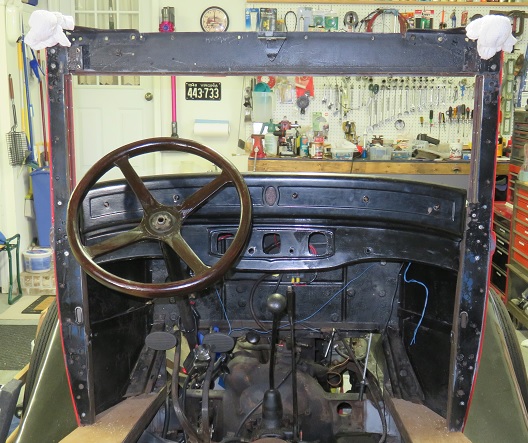
Once this was completed I reassembled everything again to check that the dash positioning was correct. I measured side to side and checked the arch of the windshield and cowl against the top edge of the dash and it all aligned perfectly. |
The cowl frame project is completed. The actual esthetics of the restoration will be completed at a future time. For now getting everything aliened and fitted together properly is the immediate goal.
The next step is to install the bottom door moldings and hang the doors. After this step I will be able to accurately set in the center door columns and create the upper door frames.