Front Door Installation
Before attempting to install the front doors I need to reinstall all the moldings and sill bolts. Before installing the bottom doorsill moldings, I cleaned them up on the wire wheel and painted them to prevent future rusting.
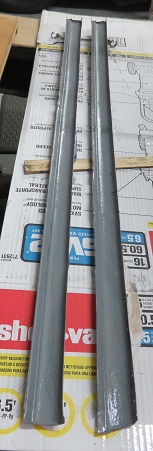 |
The previous dimensions I calculated seemed
to prove accurate. The metal molding was an important factor
in the creation of the sill template. Below is a picture of
the left and right corners of the sill bottom cap molding.
 |
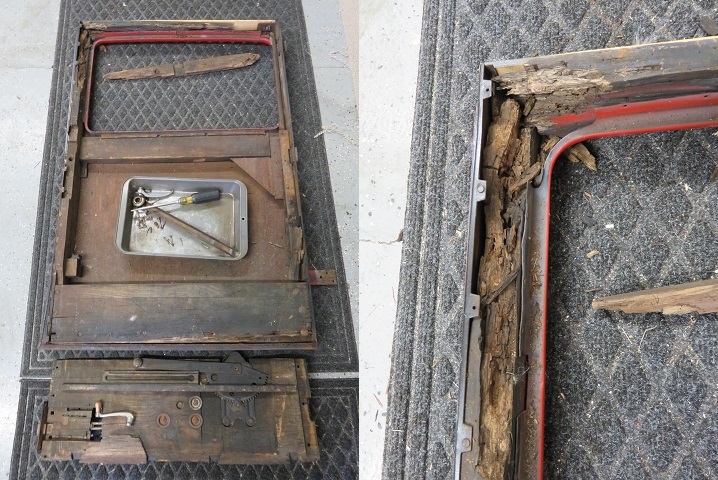
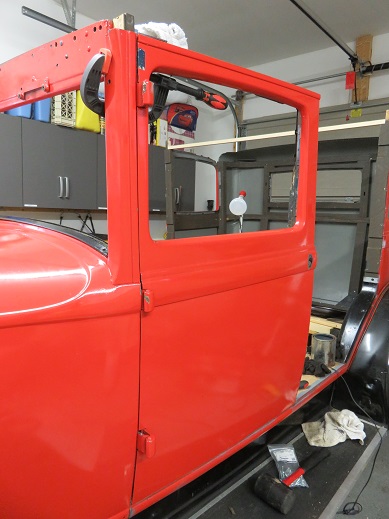
Considering the condition of my original frames finding the driver's door in bad shape wasn't a surprise. The metal door itself is in good shape but I will have to replace some of the wood and the window regulator at some point in the future. For now I am concerned with hanging the doors and ensuring that my body alignment is correct so that I can start on the roof frame. The passenger door will be OK because I repaired the frame and window a couple of years back.
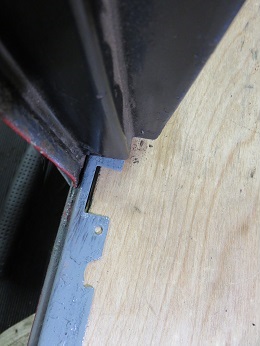
Installing the door was not as hard as I expected. There is very little that can be done to mount it incorrectly because the installation is defined by the screw holes in the hinge pillar's metal face plate. I used #12 Flathead Screws to position the door. Later I will drill and through bolt the middle and bottom hinge although with the new hardwood this task is not very urgent. After putting one screw strategically in each hinge I did an initial check and the door fit well but was slightly scrapping at the far bottom end. Since it positioned properly I installed the additional 21 wood screws that attach the metal face to the wooden hinge pillar. These screws basically mate the steel face to the wooden pillar. The strength obtained is impressive.
Since the door was slightly touching the corner of the center support pillar I needed to shim the bottom of the door hinge pillar approximately 1/8" before permanently installing the bottom hinge pillar bracket.
 |
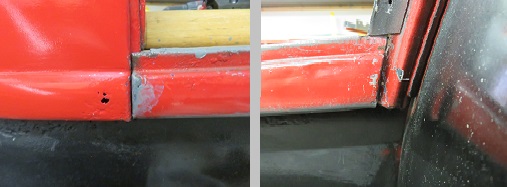
After shimming the hinge pillar to
slightly lift the door, the positioning fell perfectly in line. Below is the bottom of the driver's door and how it is aligned with the bottom of the sill molding. 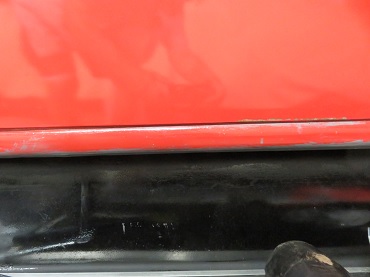 |
The door looks and aligns better than I expected. In the picture below the plastic clamp is not pulling the door up but rather holding the door in a closed position with very light tension.
Next I will be positioning the driver's side center door column.