Center Doorpost Installation
I have to admit that aliening the center driver's side door post requires some educated guess work. The references I am using to alien the post are:
-
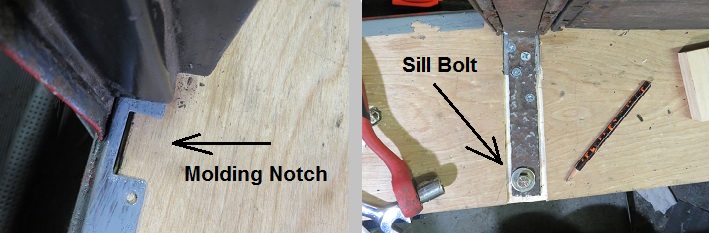
The bottom sill molding which is notched where the center post sits. My assumption is that this notch defines the visible center of the door post when both doors are closed.
-
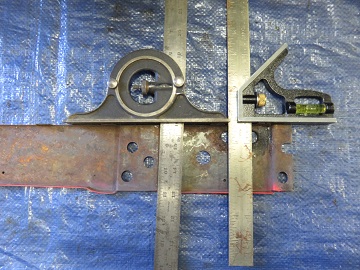
The frame sill bolt which defines the furthest outboard position of the center post.
-
The equal size of the front and rear doors which defines a distance of 27 and 5/8" (+1/8" -0.0) between the center of the door frame to the front visible edge of the door post.
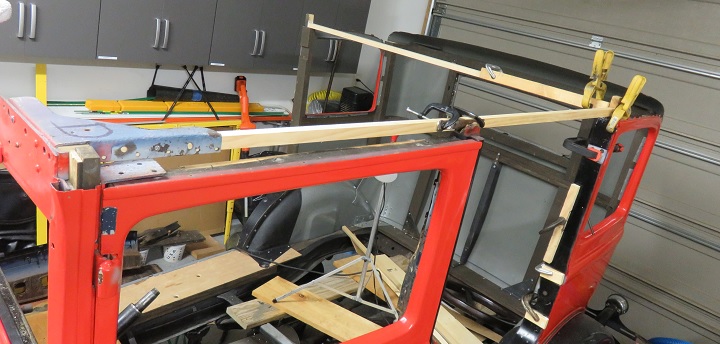
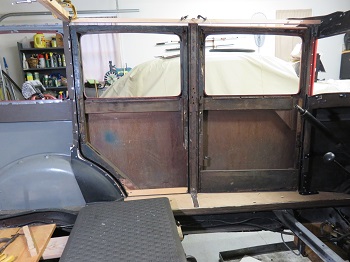
I created a frame outside of the area where the door top frame member will rest. Once both doors are installed and aligned I will create a template for the upper roof member. If everything I have done to date holds true I should be able to reverse that template for the passenger side doors.
The center post aliened nicely hopefully the rear door can be shimmed to also alien properly to the now fixed center door post. I have the same 27 and 5/8" between both the front door frame and the rear door frame.
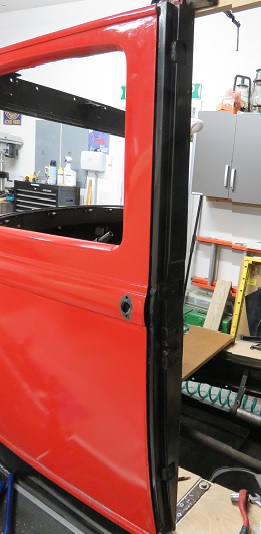 |
The center door pin fit perfectly into the door with 1/8 "
door gap between the frame and the post.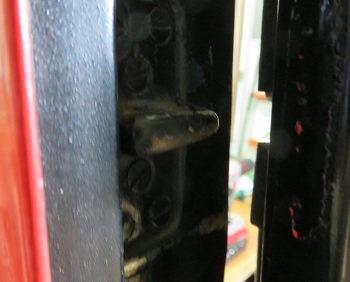 I ordered new rubber door jamb bumpers from Steele Rubber. I also ordered new door striker plate rubber and a set of rubber hood corners. Expensive but perfect high quality replacements. |
What's behind door Number 2
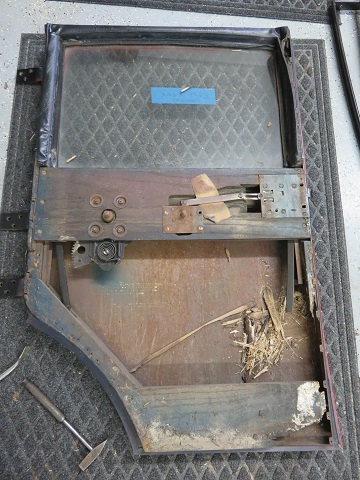 |
Before attempting to hang this door I
stripped out the window and window mechanism, glass, and rotted
wood. I installed new hinge screws with tooth picks drench in wood glue to provide a strong bond. I also through bolted one screw in each hinge. I had to recess the nut on the inner side to accommodate the window components. I will refurbish these doors after they are in place and the top roof members are created and installed. My main goal here is to install these doors and get the alignment as close to perfect as possiable. |
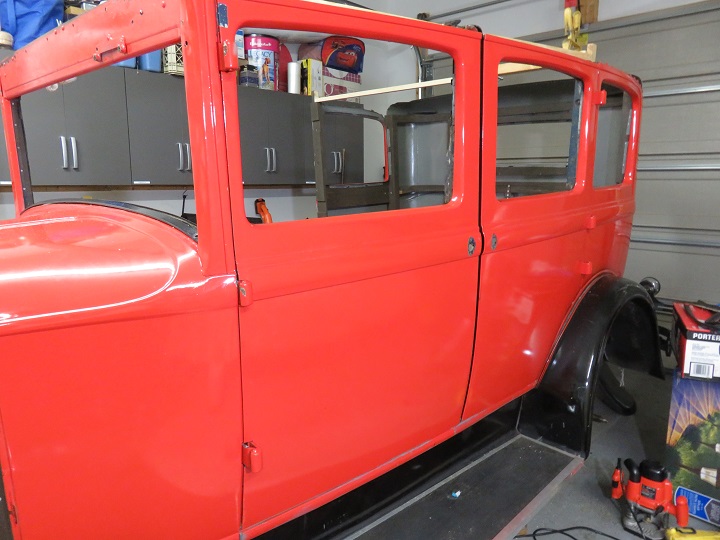
The installation went better than I expected. When I first positioned the door it slipped right into place. This was very encouraging and in retrospect spending the time to get the hinge pillars as close to perfect as possible paid off.
If I didn't pick up on the 2 degree offset of the hinge.., the door would have never aliened properly.
 |
 |
The only adjustment I made was to shim out the top hinge 1/8" which really was the difference between the metal trim plate and my remanufactured hinge pillar. This wasn't a surprise and I expected to have some ability to adjust the door which made aliening the body lines extremely easy. See below the result of this work.
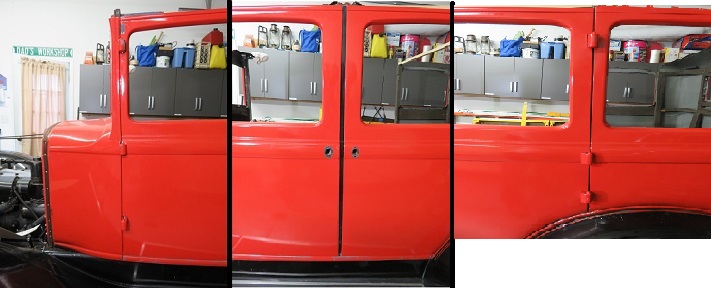
I am truly happy that this all worked out as well as it did. Believe me the thought of installing these doors kept me up at night but it appears that it all worked out OK. The old saying measure twice and cut once are words to live by.
Now to create the template for the driver's side roof member.