Upper Roof Frame Continued (front)
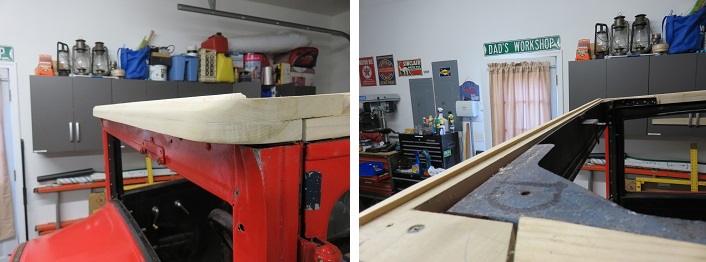
The entire roof frame needs to be worked on together in order to accurately define the original roof lines. At this point I am trying to maintain some symmetry to the roof, both front to back and right to left. Once the entire roof's edge woods are in place I can consider shaping the edge chamfer.
 |
Before
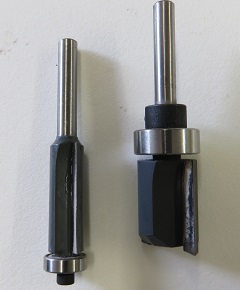
I moved on to the passenger side doors I cleaned up the Driver's
side roof members utilizing both a "Pattern Flush Trim Bit" and a
regular "Flush Trim Bit". The Pattern bit follows an upper wood edge or a pattern made from Masonite or other material. The traditional Flush Trim Bit follows a bottom wood edge. |
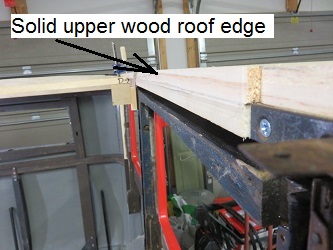 |
I plan on using the Driver's side solid roof edge as a template for the passenger side. This should work out and it will provide a very symmetrical roof line right to left. Below is an artist's rendering of the 29 Plymouth 4-Dr Sedan.
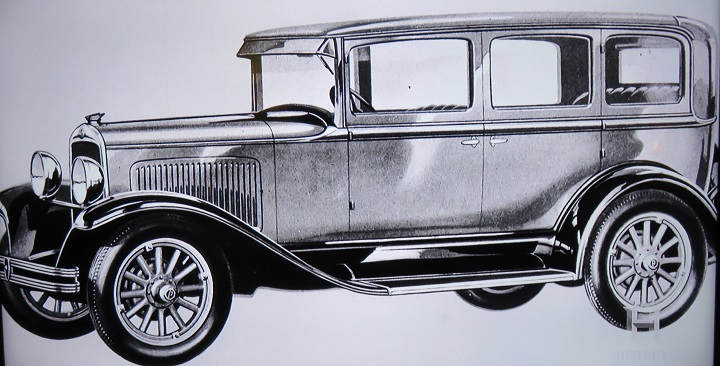
I will try to maintain a flat front in relationship to the windshield hood with a 45 degree chamfer. I will also step the bows to produce the slight arc front to rear.
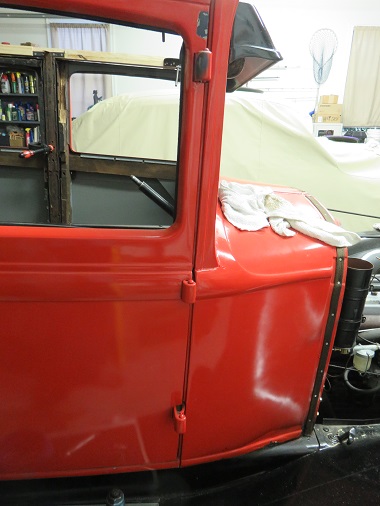
With the doors set in on the driver's side of the car, I installed the passenger side front door. All things being equal the door installed OK but was about 3/16" further from the cowl than the driver's side door. I do think it is a hinge problem but since the door mounted square top to bottom, I decided to move on even though I would have preferred the door to align closer to the cowl skin. In an effort to make up the difference I sanded down the rear hinge pillar to get a better fit on the rear passenger door.
 |
 |
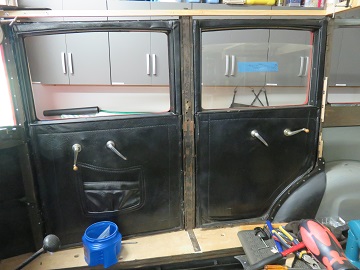
The rear passenger door aligned perfectly. Both doors are square to the bottom sill molding and square at the top. I think this is the exact definition of the word serendipity.
 |
 |
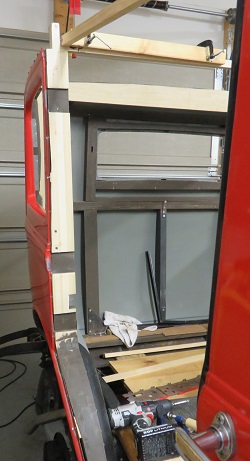
The spacing between the doors at the center pillar is closer together than the driver's side. Since it works fine that's the way it will stay. This side of the car is slightly different than the driver's side although the inverse of the driver's side top wood worked OK I did have to trim it with the router. I guess perfection is something unattainable after 80 years of use. Anyway you can't look at both sides at the same time to compare any slight differences. So I think things are still going well.
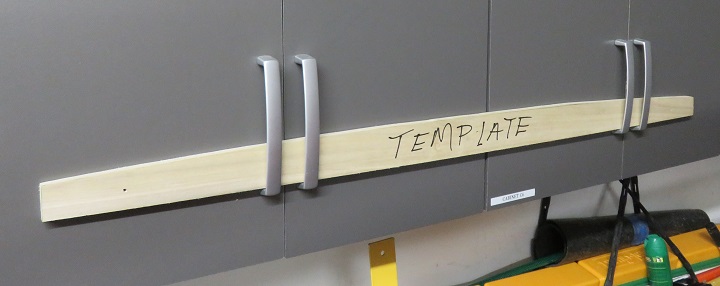
I spent some time creating a roof template which I will use to duplicate the roof bows. I created this from the natural curvature of the rear roof's metal skin. As you move this template forward toward the windshield it flattens since the majority of the arc is more noticeable at the templates ends. I believe that using this template aligned to the center the result will be quite accurate and in the very least, pleasing to the eye.
The way I will use this template is to route the roof curve on a larger plank of wood then cut the interior side to thickness on the table saw. Once done I will trim the ends to keep the centers on the mark which will flatten the roof moving forward. I think this is a good plan so I will continue my work keeping this plan in mind. The roof trim wood is the foundation for constructing the lath and bow roof.
| With the doors set
in on both sides of the car, I started work on the front
roof member. Unlike the original, my front wood will wrap around the edges and will be joined with a lap joint to the side wood frame. The piece will be created from two 3/4" thick hard woods and one 1/4" lath board that will create the channel the front lath boards attach to. |
 |
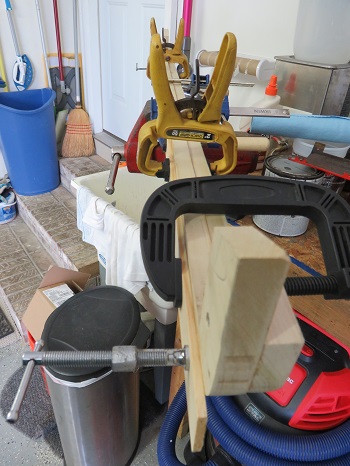 |
The process for making this wood member is the same process I have been using since I started.
For this wood member I added a third piece of wood 1/4" in thickness to create a 1/4" channel that the roof lath boards will attach to.
The picture below is the finished wood section... |