The Floor
I ordered the new reproduction wiring harness and will install the wiring that goes along the Driver's side frame before I permanently install the 29's floor. So while I wait for the harness to be built I will clean up the frames and do the preliminary work to the car so that when the electrical work is completed, I will be able to just install the floor panels.
In the days that follow I will be creating all the needed support pieces and will cut the floor boards and fit everything into place with temporary screws and clamps. I will also permanently install those structural pieces that will not interfere with the installation of the wiring.
Floor Installation Prep.
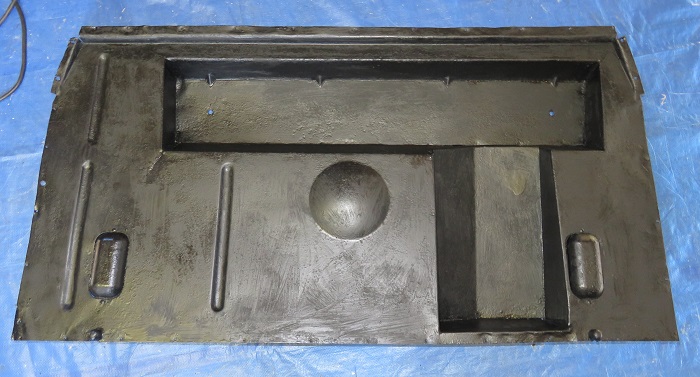
I started with the rear seat's metal pan. This area is used to hold the car's jack and supplied Plymouth tools under the rear seat. As with any metal clean up the pan was scrapped, sanded, and straightened. Since the prior owner performed a substandard floor refurbishment, the need to adjust this pan back to it's intended use added to my time to complete. The good news is that even though the prior repair work left much to be desired, I have to thank the prior effort because these metal parts were cleaned and painted which helped to preserve them for me. The picture below is the results of my work.
While the paint dried on the rear seat floor pan I turned my attention to the frame. Before I installed the sill boards I had already cleaned and painted the top and outer sides of the frames. I started with the inner frame by removing the old wire harness. The frames were cleaned and painted at some point in the cars past so cleaning them up for paint again was not a difficult task. I wire brushed them clean while the wife worked the shop vac. She has become an integral part of this process by providing a third and fourth hand as well as occasional needed critique. After the dirty work was finished I wiped the frames down with a solvent and painted with flat black Rust-Oleum. See the picture below on the left.
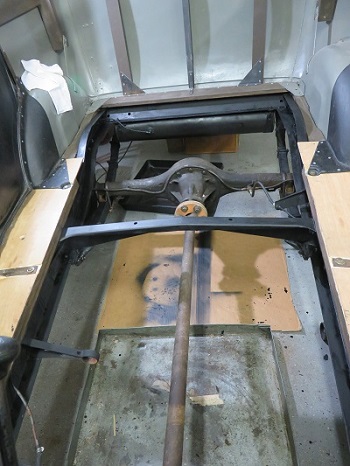 |
With the inner frames cleaned and painted I
decided to temporarily install the rear seat pan and do some
measurements.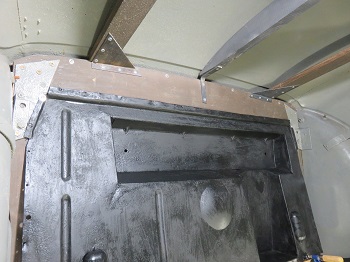 According to my current information the pan should sit back 72 and 3/8 inches from the front sill edge to the front edge of the wooden cross member that the pan attaches to. The height off the floor is 2.5 inches. The rear of the pan attaches to the rear triangular body brace. |
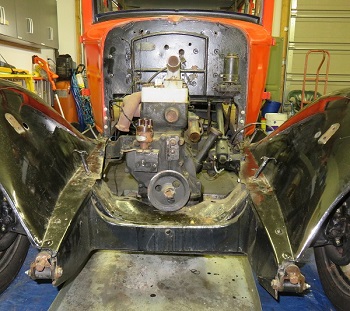
After reviewing where I was heading with the project and the items left to accomplish I decided to move away from the floor project and pull the motor for a much needed rebuild.
The Motor Removal:
With the cold weather of the Holiday Season approaching it seemed logical to send the motor and other parts out for refurbishment. This serves two purposes:
 |
|
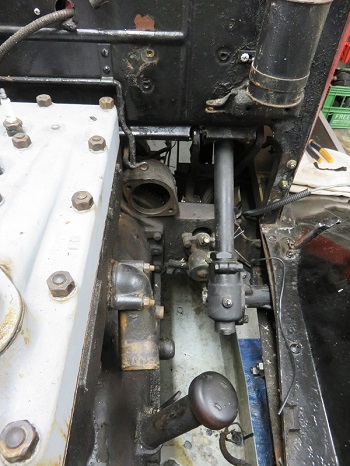
I will need to disconnect the drive shaft and pull the transmission, remove the peddles, and remove the master cylinder. Then I should be able to lower the bell housing and turn the engine enough to clear the steering box.
 |
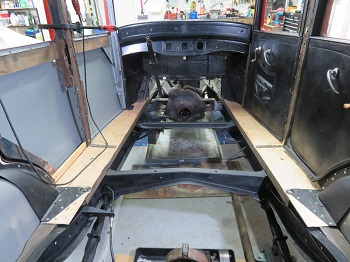 |
I will say it was much easier removing the drive shaft & transmission without the car floor. It was almost fun. When I first installed those new disks, it was all work under the car. Today it was nice sitting on a cross member and working on the rear axle. I have a feeling that my floor panels are going to become removable.
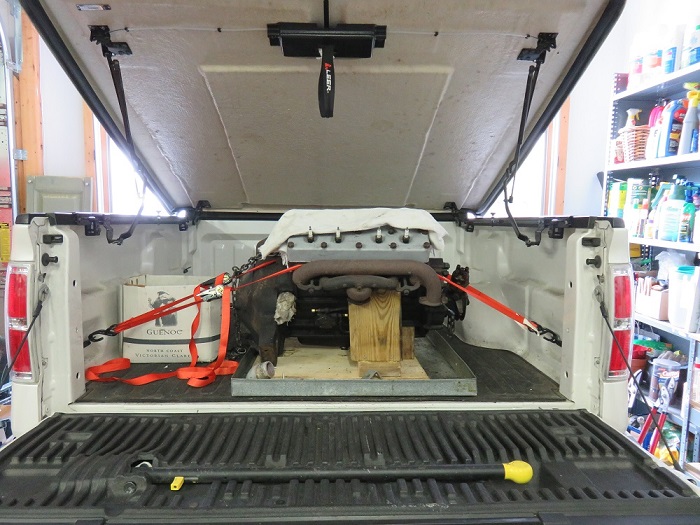
The engine removal went off without a hitch. Once the rear bell housing cleared the mounting hardware it was a small turn to the left and the engine cleared the steering box without any undue effort.
 |
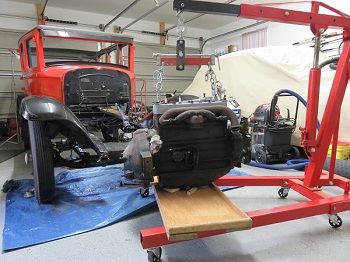 |
Once removed from the car it was into the pickup for the drive to the machine shop for an extensive refurbishment.