Upper Door Frame Fabrication.
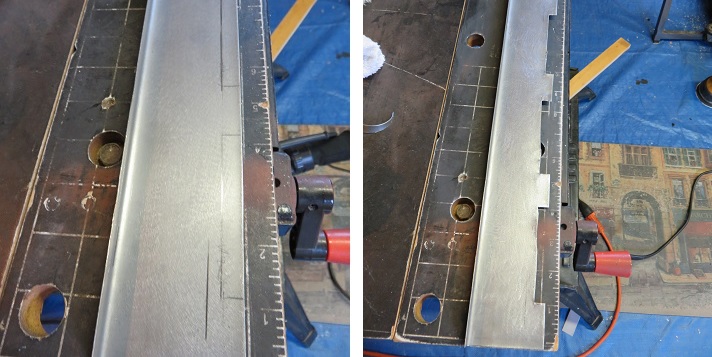
With the driver's side door wood frame repair completed and the passenger side door almost complete, I decided to start on the upper metal frame fabrication. For this repair I have a 36" wide sheet metal brake. see picture below. I am also using a Milwaukee 18 gauge electric powered shear to make straight line cuts.
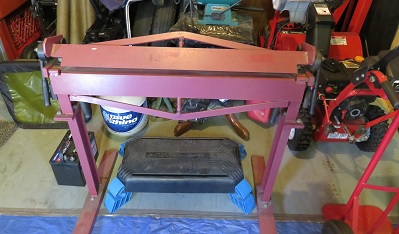 |
Unfortunately my brake has a few limitations.
|
 |
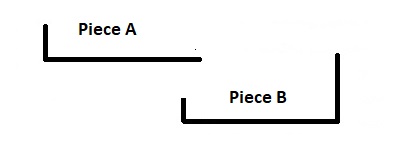
In order to make a reasonable reproduction I will have to make
two pieces and join them together to fabricate the top metal door
skin.
|
Since my car didn't have any of the original wood roof railing I am not sure if my construction techniques are similar to the original, but will definitely look the same as the original upper door frame when completed.
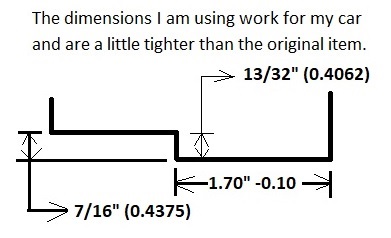
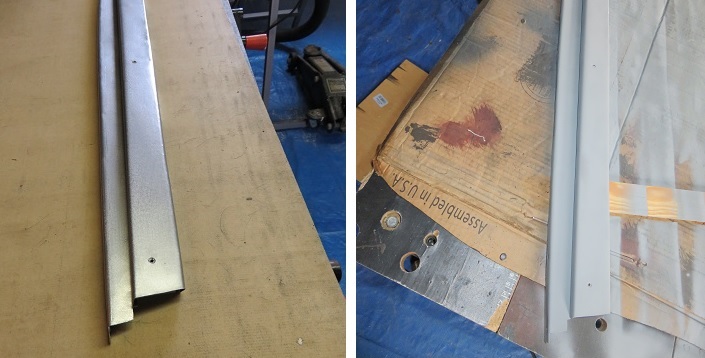
My first step was to install a wood backing for the door frame offset. See picture below on left. Once this was completed I cut a 1 3/4" (1.750") wide section of metal to fabricate section 'A' ( see diag. above.) Attention had to be paid to the over lapped steal edge which joins together with the rear door frame at the center of the door column. Once the piece was properly fitted into place a pencil line was drawn to create the bent flange that wraps around the roof rail.
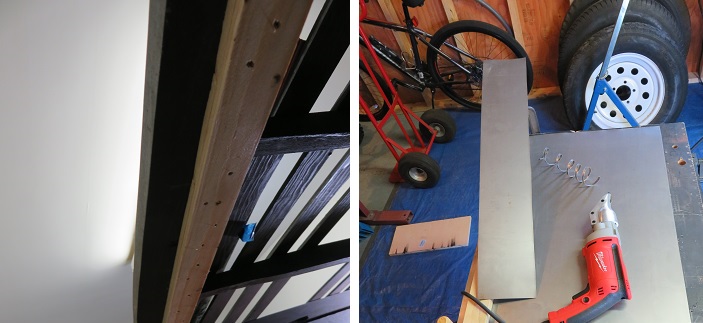
I was able to use my sheet metal brake to start the bend but had to use hand tools to create the curved roof flange.
Once completed, I started on section ' B '. This is the part that will wrap around the wood offset creating the stepped door frame. Once the length of the piece was fitted to match the exact dimensions of my door frame I used the brake to bend the first edge that wraps around the wooden offset. See picture below on left. I marked the piece for the inner roof frame. I then marked and cut the steel sections which will create the mounting tabs. Once all the tabs were cut out I then bent the rear to complete section ' B '.
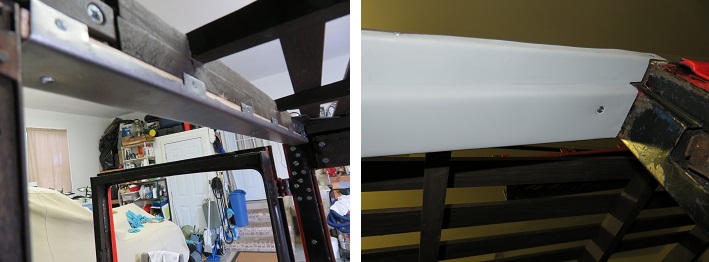
Both sections were primed and are now ready for installation. This process is very time consuming and requires a lot of manual dexterity to create these pieces in this way. Much of the work is accomplished with hand tools.
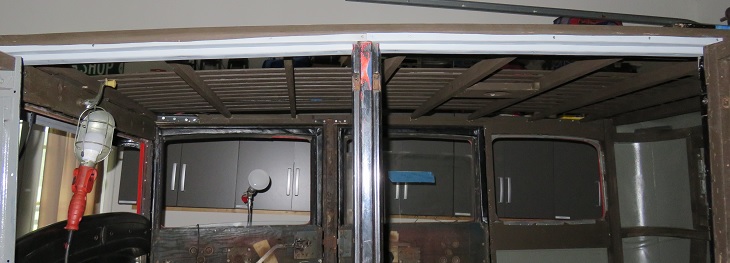
See pictures below of the finished product:
The original frame did not have any screws showing. Mine are countersunk into the frame and I could apply a little bondo before paint to hide the mounting screws. No harm, no foul.
I was able to complete both Driver's side doors & frames.
On to the passenger's side.