Body Work / Paint Prep - Continued.
I continued to plug away at the metal work in preparation for paint. Next on the list is the driver's side front fender. This fender wasn't as bad a as the passenger side but still required a significant amount of work. There was only one rust through in the flat part of the fender that sits over the frame rail. See below.
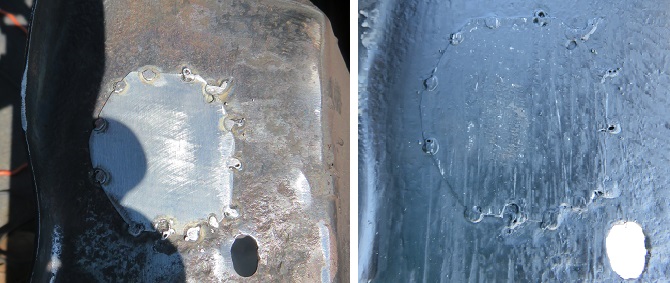
It seems the more of these patches I do the better they come out. I cleaned up the welds and painted the interior of the fender. These steel patches create a good foundation for the application of the body filler.
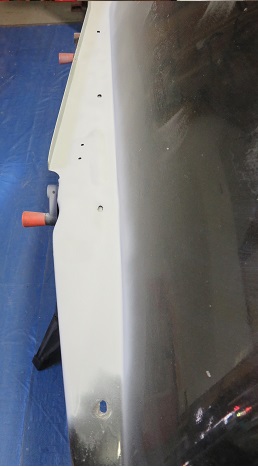 |
The Driver's side fender worked out great. I removed the fiberglass and now the fender flats are 300 % better than they were. Picture below is what I corrected.
|
Of course the work is in the details. The fender flats required a great deal of hand sanding. It's just not possible to get in there with power tools. You can only go so far with the sander then block sanding by hand finishes the job. The fiberglass peeled off with the use of a sharp chisel. I sanded the remains of the fender with 220 grit to remove paint imperfections and fix small chips in the old paint. Although I am not fond of doing this work every hour I put in saves money at the paint shop and ensures a nice outcome.
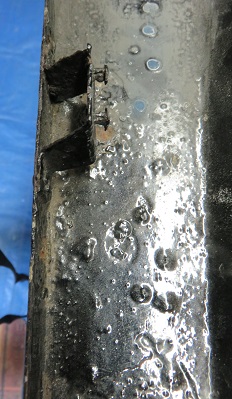
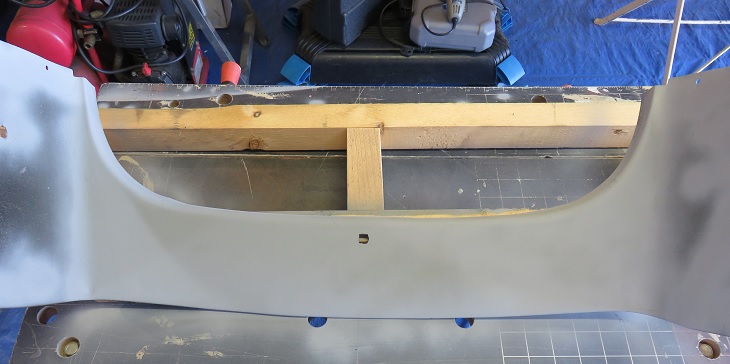
The next item I worked on was the body section under the radiator. There was some rust through that required patching as well as a general cleanup and some metal straightening prior to paint.
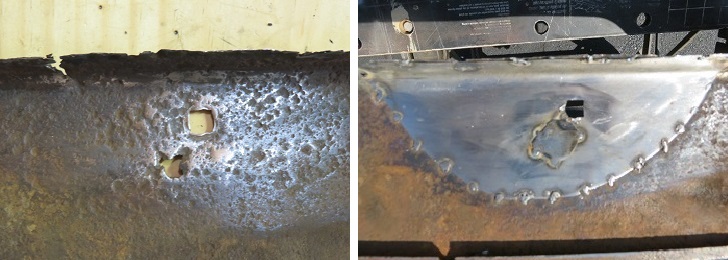
The picture below on the left is the area directly in the center of the panel under the radiator. The rim was rusted by years of radiator fluid leaks and weather. I needed to create a rather large patch that also redefined the folded edge below the radiator. I laid out the piece and used my sheet metal brake to add a half inch rounded edge. Since there was a slight arch to the metal I cut the arch prior to bending the edge. The picture on the right is the result.
 |
The results below were accomplished after much sanding and two applications of filler. This time I could use power tools for the bulk of the sanding on this section. This piece completes the work needed in the front section of the car.
Next, the two rear fenders.