Rear Fenders / Paint Prep - Continued.
I thought the rear fenders looked in pretty good shape but the closer you get the more imperfections you can see. I removed both fenders and did an initial sanding to take down high points which are the result of being painted while installed on the car. In most cases the fenders came out OK. After closer inspection the driver's side had a pin hole in the rear. Most likely was fixed with body filler without any metal backing. As time goes on the vibration of driving will crack these points and these pin hole issues become more and more noticeable. Since I have owned this car for a little over ten years, I am only addressing visible problems with the old paint. For the most part, the body surface appearance has been stable.
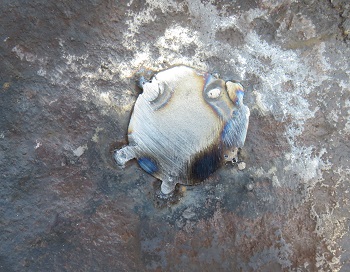 |
After grinding the fender under the pin hole I welded a small patch to provide a good base to apply some body filler. The patch is about the size of a quarter. After tacking it in place I grounded it down flush. I then proceeded to sand and clean the underside of the fender so it can be painted with flat black. This fender appears to have had some significant repair work done to the outside curved edge. |
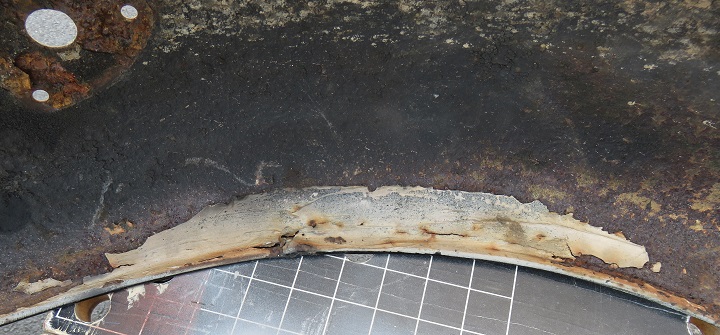
| I used my small disk
grinder to remove the Bondo patch on the outer fender wall.
The good news was that the Bondo came right off and revealed a
welded patch. This is good news so I just grounded it flat and it appeared quite solid. This is the underside of the fender so some paint will protect the exposed metal. The visible side looks just fine. |
 |
|
 |
|
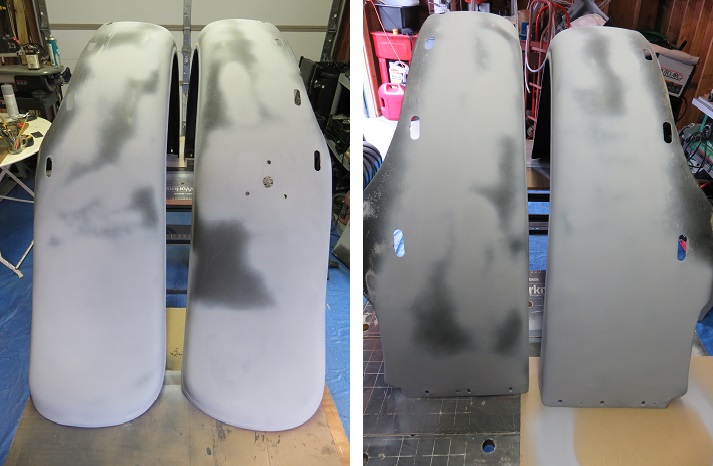
I think the parts below should be ready for the paint shop. With the major repair work done the paint shop can tweak whatever they need to do to finish the base and top coat. I just need to talk with the painter to find out if he wants everything at one time or do the fenders first and the body second.

Next I will get the main body ready for the paint shop.