Reassembly - Brake Lines
When I removed the front fenders I noticed that my front brake line fittings were cracked on both sides. After further inspection I noticed a fitting on the break line going to the rear axle, was also cracked. Since the car is currently disassembled what better time to replace the 90 year old copper brake lines with DOT approved copper/nickel hydraulic tubing.
I think doing this on a car with the front fenders in place would require many more expletives than I used while installing new lines on my disassembled car. The problem is routing the front lines between the fender and the fender support. Also installing the tubing into the frame opening with the kick panel and running boards in place.
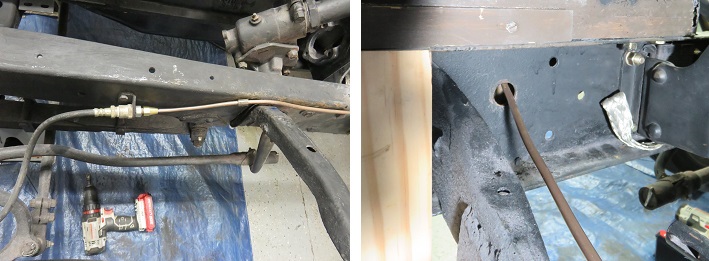
The driver's side line comes through the frame in front of the battery shelf and then wraps around the battery case then attaches to the gang fixture on the first metal frame support. In order to accomplish this, I measured the amount of tubing I needed for the inner connection to the gang fixture. I added an additional 6 inches to ensure I didn't come up short. I used my tubing bender to form a 90 degree turn in the tubing. I then manipulated the tubing into the frame hole until the 90 degree bend aligned up with the frame hole.
Once this was accomplished I straightened out the tubing on the outside of the frame and attached the clamps loosely so I could form the bends necessary to reach the front brake fixture. I then trimmed the tubing to ensure good connection after the end is flared. I'll deal with the inside frame connections after everything is completed on the exterior frame. In the picture above and to the right, the frame hole has no rubber grommet. I left these off intentionally to give myself as much space as possible to manipulate the tubing into place. Before I completely attach the lines I will install the rubber frame grommets

The pictures above show the passenger side tubing. This tubing run is much deeper down the kick panel and might be very difficult with the fender and floor in place, but probably not impossible. The picture above and to the right shows the grommet for the 7/8" hole. The slot size should be at minimum 1/8 of an inch, you could also use 3/16 of an inch.
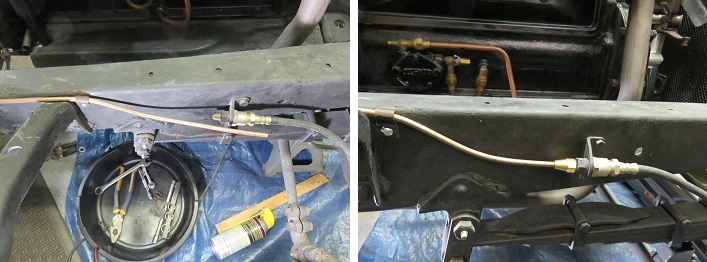
In the pictures above you can see that there isn't much room for error when trimming the tubing to ensure a positive connection. The frame hole allows you to be off by 3/4". So that is what you can capture by moving the tube forward.
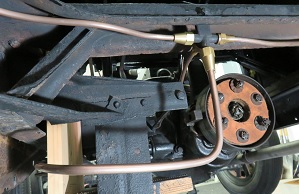
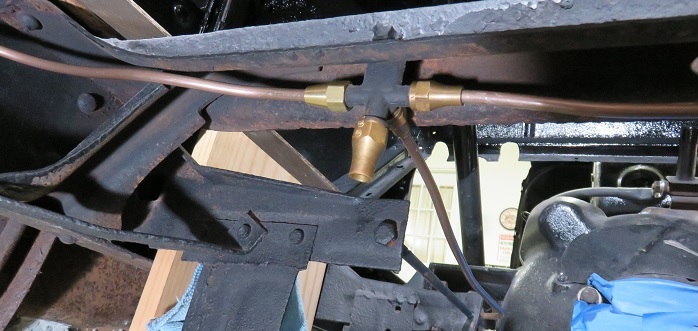
The rear line going to the rear axle was very easy to replace. I basically copied the 45 degree offset going through the cross support frame hole to the axle branch connector and hand bent the remaining line to align with the gang fitting attached to the first frame cross support.
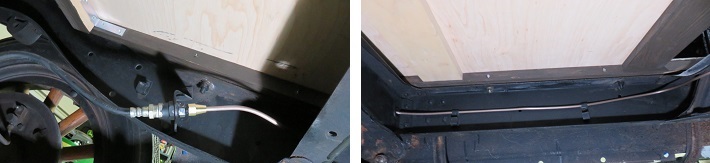
The drivers side frame accommodates both the hydraulic line as well as the electrical harness. The same clips that hold the tubing also hold the wiring harness which is not installed in the picture above. There is also a one inch diameter pass through hole in the cross frame support that needs a one inch rubber grommet.
The passenger side frame accommodates the fuel line from the tank to the fuel pump.
Now that all the lines are done all I have to do is create the hydraulic line from the gang fixture to the master cylinder.
By the way the line tubing is 1/4" and the master cylinder line is 5/16". The original copper tubing is more flexible than the copper/nickel tubing but this whole process went along much smother than I had envisioned.
With all the new brake lines installed next on the agenda is to install fluid and bleed the lines. In order to do this, the master cylinder and pedal assembly needs to be installed. So it made sense to install the clutch disk, pressure plate and assorted hardware along with the master cylinder and transmission.
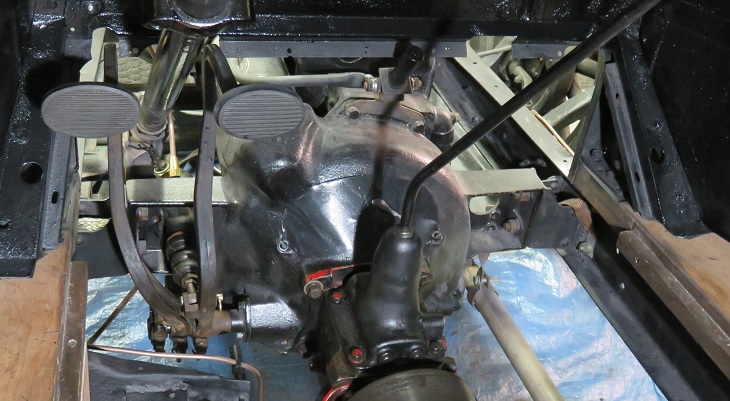
Once the pedals and
master were installed I was able to finish the 5/16" tubing from the
master to the gang fixture affixed to the first metal cross support.
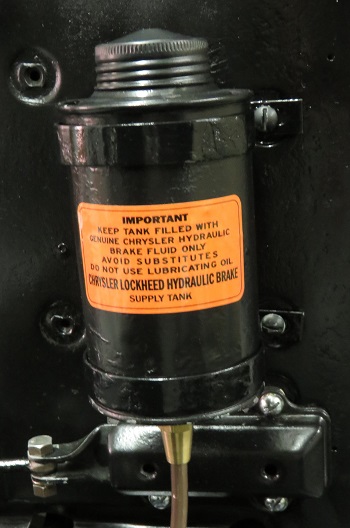
Installing the reservoir can on the fire wall as well as the engine grounding fixture just below it was very rewarding. These small improvements puts us one step closer to a running car. It's nice to see the old car coming back to life. New lines are leak free and brakes are back !! |
 |