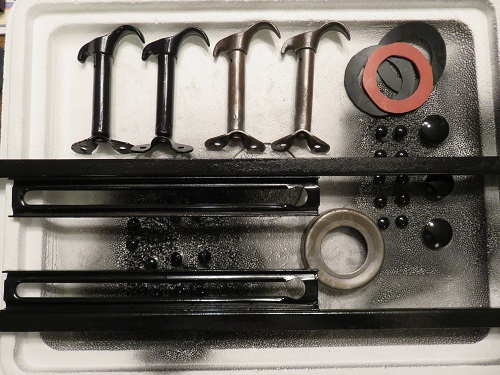
Reassembly Details
Putting this car back together is a slow and tedious process. Attention to detail is paramount and usually what inhibits progress. It seems that no matter where I turn I'm either missing some minor part that I need to order or fabricate. The big slow down is small parts that need to be cleaned and painted before reassembly. With winter weather it is a lot harder to clean and paint small parts. I have been fairly lucky in that on some days the weather has been flirting with 50 degree afternoons. On days like this I try to get items painted then back into the warm house for the paint to dry and cure. The wife has been especially understanding. Currently there are parts all over the house. The picture below shows an assortment of items waiting for assembly.
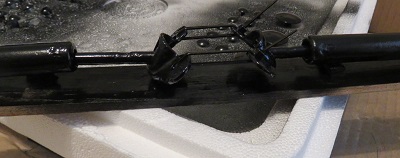 |
In the picture above you can see two finished
hood latches and two cleaned latches. Before I painted the outer coats I forced them open and painted the inner rods. I didn't wanted these rusted steel rods to show when the hood is latched. Details, details. !! |
Another item I spent a great deal of computer research time on was the vacuum valve dash switch. The original switch is pot metal and when I removed the dash the switch crumbled into two pieces. I searched Hershey from corner to corner looking for something similar. I did find something that I might be able to modify then somebody mentioned an Aquarium store. I don't remember who or where I picked up this thought but it was genius.
Of course anyone who has had fish know that there are numerous air pumps and valves for the purposes of supplying air to the aquarium. BINGO !! I searched online for aquarium suppliers and found a site that sold a brass valve for 1/16" tubing. Perfect for my use and only $4.99 so I bought two. see picture below.
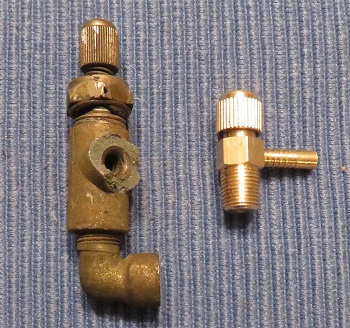 |
The old valve is on the left and the
replacement I will be using is on the right. Considering that
only the brass knurled thumbscrew will be visible under the dash
this item was near perfect. Of course with most things you do on these old cars, every now and again a little creative tweak doesn't hurt. I opened up some stainless lamp washers and found a black neoprene washer which will apply tension on the washer setup to hold the assembly in place when I tighten the 1/8 npt to 3/16 hose fitting. Details, details. !! 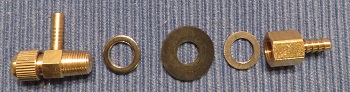 |
I think the vacuum valve came out really nice for the amount of money spent. This is a hard part to find, so all things considered I think it's a close facsimile.
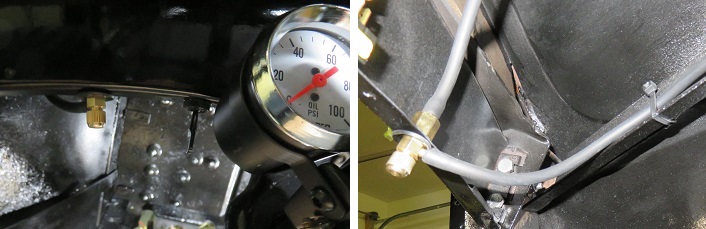
I have been working on different things in-between researching issues like the dash vacuum switch and ordering parts. So far I have installed the front passenger/driver door glass. I purchased channels from Restoration Supplies. The windows work great and since everything has been either cleaned, painted, or replaced with new, the mechanisms work effortlessly. Windshield and the two front doors in with only 5 more to go.
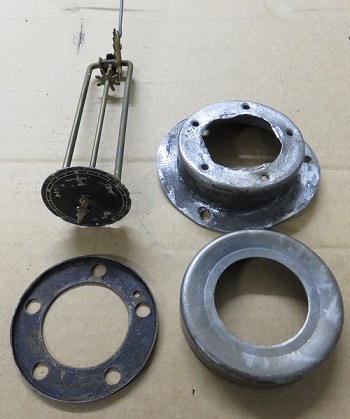
I have also been working on the gas tank on and off. I needed to order float material to replace the old cork on the old mechanism.
 |
|

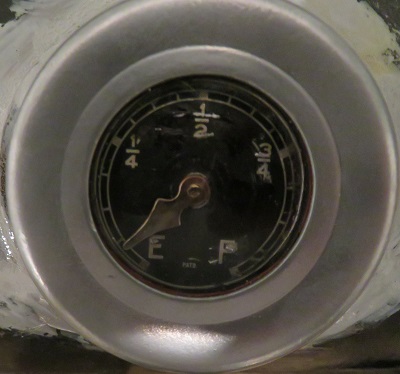 |
Looks pretty good for a 90 year old gauge. With the new float and soldered frame supports, it should work well. Now all I need to do is reinstall the gas tank back into the car. |
***