Glass & Interior Continued
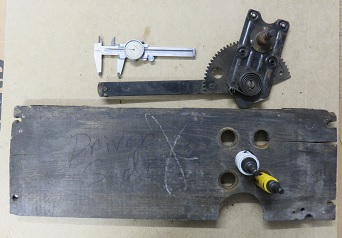
With the door windows completed I moved on to the rear seat side windows. These are a little challenging because all the rear frame wood was fabricated and also the wood pieces that hold the window regulators in place were badly rotted and warped. So for the time being back to wood working.
 |
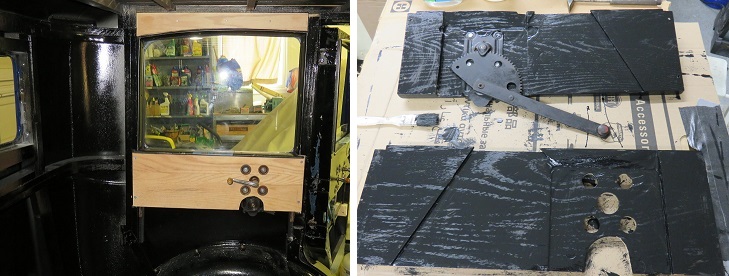
As you can see from the picture on the left
these support boards are in very bad shape. The good news is, I can use these as templates to create two new
left and right side regulator supports. I am using 3/4" thick oak board. The reason I am using oak is because after routing out the inner surface for the window regulator, the area will be weaken and the overall strength of this section diminished. Oak will resist warping much better than pine or poplar and will provide a stronger support for the regulator. Regulator mounting holes are 1 inch in diameter and the center crank hole is 1 3/8 inch diameter. A standard hole saw should do the trick. |
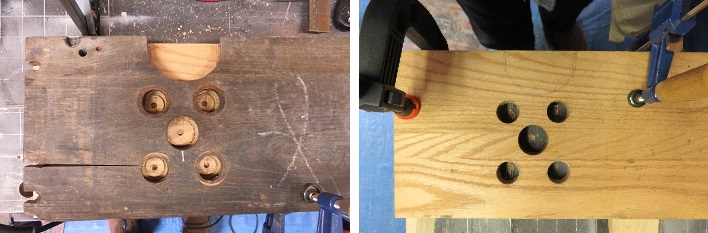
The size of the oak board is 22.5" long by 7.5" wide and 3/4" thick. I used the old board to act as a gauge to get the correct spacing for the regulator holes. Simply align the wood pieces, clamp and drill centers using the correct hole saw. See picture above and to the left. The picture to the right is the result after removing the template and drilling the holes. For the front side all that's left is to cut out the regulator half moon hole with the jig saw.
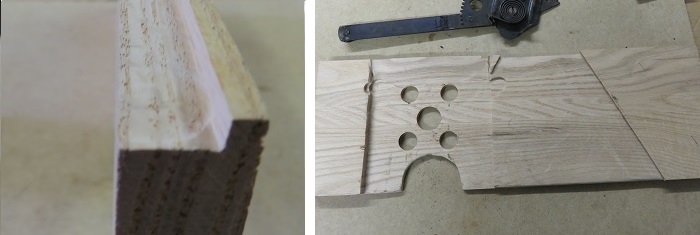
Routing the inner side was a little challenging without a router table. There were three different shaping's needed.
-
The top edge of the board needed to be cut 1/2" in and 1/4" high to facilitate the bottom window molding.
-
The area for mounting the regulator needed to be cut 1/2" deep curving to the full width of the top edge
-
The area for the regulator's arm swing needed to be cut in 1/8" to eliminate binding.
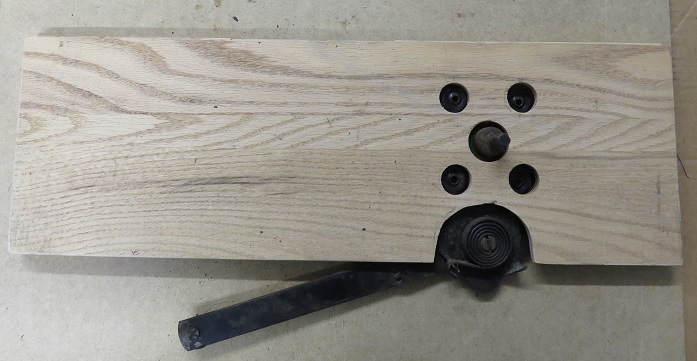
I need to clean up the regulator assembly before I permanently mount it. It should work fine I will have to pay attention to the mounting of this item since the frame it attaches to was newly made. There may be some slight modification necessary to align everything to ensure proper location of the finished inner metal window frame.
As with all the door windows. I installed the window glass tracks first then the bottom weather strip. In order to make sure I installed the window regulator in the correct position I then installed the window molding frame. With the frame in place I positioned the regulator assembly including the bottom window trim to ensure that the regulator assembly was properly against the window and esthetically correct. I then drilled new holes for the mounting screws. Once this was completed I removed everything around the window tracks and installed the glass.
The picture below and to the left is the result of this work. This side window hasn't worked in decades. Now it moves up and down with ease. With the drivers side rear window completed I will do this same work to the passenger side. Then all that's left of the glass is the rear back window.
Note: After reviewing this work I found that with the window down you can see the back of the oak regulator board. I removed the assembly once again and painted the inner surface flat black which makes the board virtually invisible.
Now on to the passenger side window.