Rear Seat Area Continued
With rear driver's side door & rear seat window completed the last hurdle to jump over is the round rear corner.
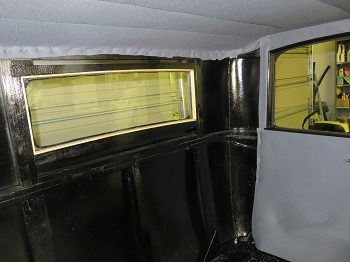 |
What makes this area especially challenging
is the rounded rear corner complicated by a two inch ceiling drop.
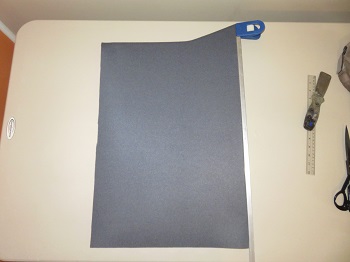
I was also concerned on how the seam lines would square. The first step was to create the door board. Once this was done I fitted it in place before gluing on the cover material. I figured I could cut the lines square but much to my surprise the seam lines lined up perfectly. Square to the window frame and square to the rear seat window. I predrilled mounting screws and one locating nail in the upper right corner. |
| The board to the left
looks oddly shaped but once pressed into the curved rear frame
squares up nicely. I trimmed the board edges like the other
boards but didn't glue the total material piece to the board.
I installed the board by first installing the locating nail in the upper right hand corner. Next I installed the center screw after pressing the board into the round wood center frame. (Picture below and to the left) To finish off the board mounting I installed the upper predrilled screw which squared the board to the back window frame. (Picture below and to the right) |
 |
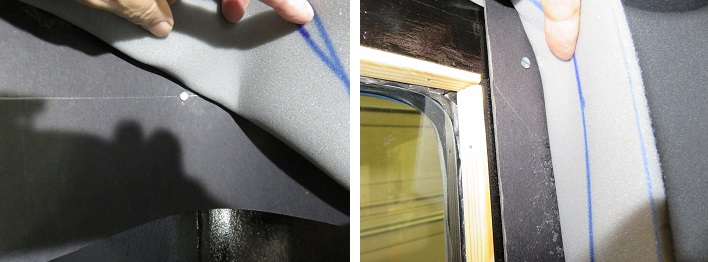
| Once the board was
installed I glued the material to the board and stapled the material
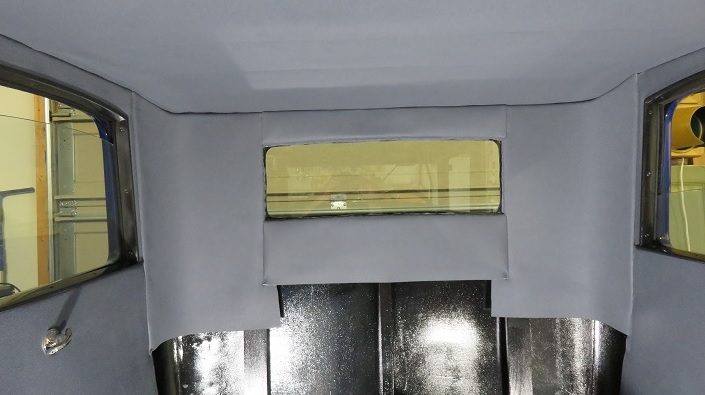
to the inside window frame. When all the rear boards are in
place I will finish the rear window with a thin black wood trim. I think at this point we have tackled all the complex points. Now we just have to install the same boards for the opposite side and move on to repairing and installing the rear seats. The rear seat covers much of the back and rear sides. |
 |
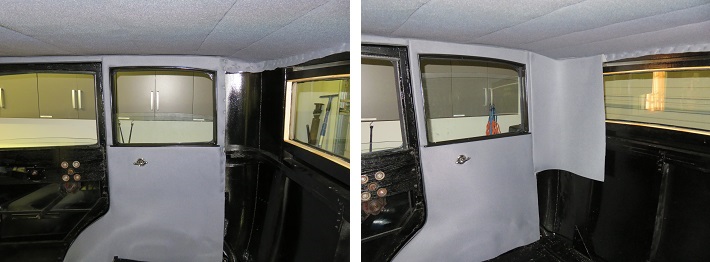
Step one before I could continue with the passenger side rear I needed to install the piping and ceiling trim for the passenger rear door. I will finish the entire door at a later time. My main goal at this point is to complete the rear seat and rear window area. This is the most difficult area due to the angles and curves. Completing the doors will be relatively easy in comparison.
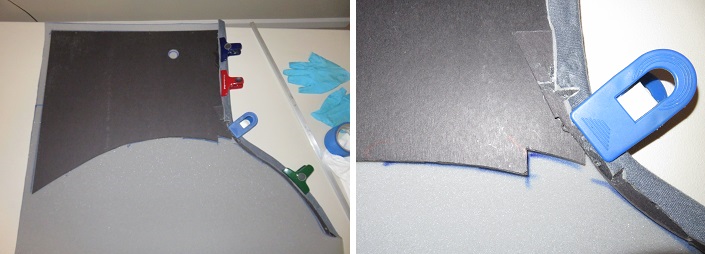
The good news for creating these upholstery boards is that they are mirror images of the drivers side. I made copies of them when I created the drivers side. Using the same installation method as the driver's side I only glued the corner edges. This way I can attach the boards directly to the car's frame. The bottom curve section is screwed in three places and located by the screw hole in the picture above and to the left. These are the same screws that hold the steel wheel well corner bracket.
The installation went pretty much as planned. I did have trouble with the corner board. The first one I cut cracked when pressed into the curved corner. I created another from material that was already curling from the humidity. This worked out much better than the first. If necessary I could have gradually introduced the curve over a period of time. Actually before I added the cover material I left the board installed in the car over night to further define the corner curve.
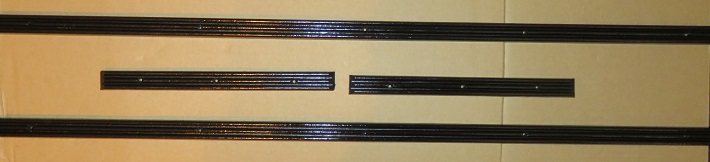
The rear passenger area is almost completed. The pictured below shows the rear window moldings that I previously made and predrilled.
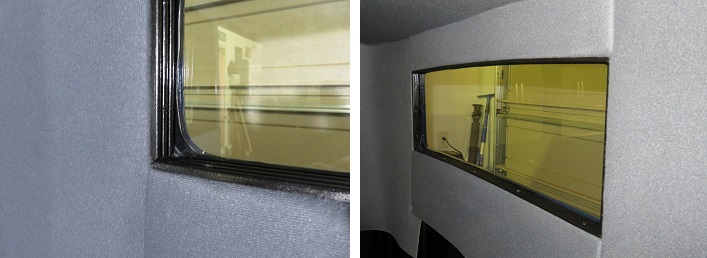
The picture above is the installed frame. I think this worked out Ok !!