Front Seat & Doors
Of course the front seat showed the most wear, especially on the drivers side. We started on the front seat back .
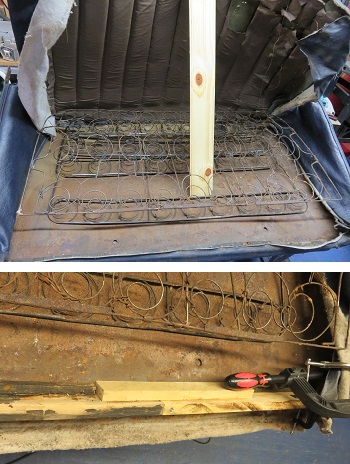 |
I had repaired the bottom cushion some years ago and this bottom seat really needs to be recovered. In the short term it will have to do and be recovered some time in the future when we can find some matching material. We removed the covering on the seat back and cleaned out all the
deteriorated cotton and burlap. The springs looked usable for
their age. What needed to be repaired was the bottom and side
wood on the drivers side.
|
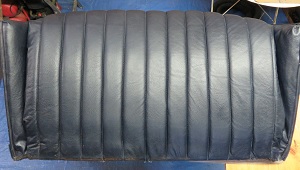
| The front of the seat came out
fine. It looks good and gives the car some appearance
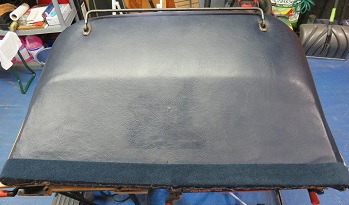
of its history. The back bottom area of the seat was
damaged from age and the moisture that destroyed the bottom
wood frame. My wife came up with the idea of carpeting the bottom two inches of the seatback with carpeting. Once installed it will merge nicely with the floor and match the three inches of carpeting below the rear passenger seat. Great idea. !! |
 |
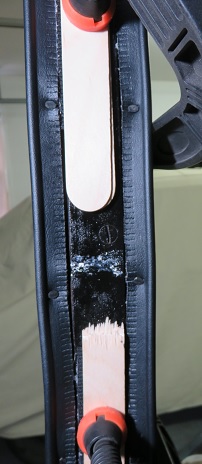 |
Knowing that these seats will probably need re-upholstery in the future I needed to install the front seat back knowing that it will most likely need to come out of the car at some future point. Since the seat back screws into the center door pillar and is then covered with a small upholstered section to hide the screws. I wanted to insure that the seat could be removed without damage to the upholstered door pillar. One word came to mind, Velcro.
I glued one side of the Velcro to the door pillar and the other side to the back of the cover panel. This will allow for removal of the seat without damage to the material, seat, or door pillar.
|
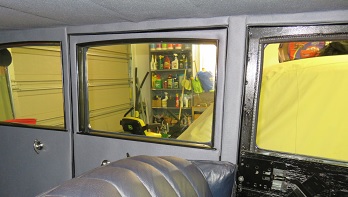
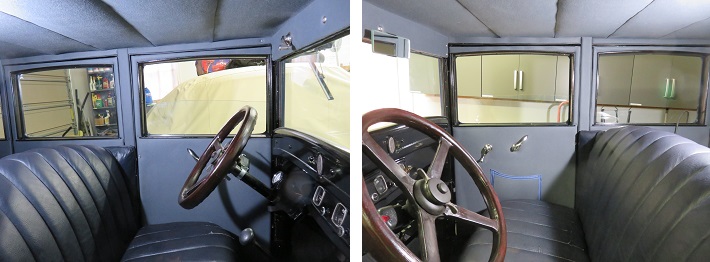
With the front seat installed and all trim completed all that's left now is to paint the front window frames and complete the two front doors. At this point this should be routine. Below is a picture of the doors completed.
This now completes the interior refurbishment. The only major work left to complete is the roof covering and rain channel installation. Of course a few loose ends to fix but they can wait till the car is inspected and registered for the open road. Then we will finally be in maintenance mode once again.