The Final Project - The Roof
I was originally going to have this done by a professional shop. My main concern was having a roof that was aesthetically correct as well as weatherproof. After researching the installation details and methods, along with the required materials, it became apparent to me that the task wasn't that much different than normal upholstery work.
The one thing that surprised me was all sources agreed that the insulating top closed cell foam pad and finished roof covering should not be glued down. Especially on a wooden slat roof or for cars with a chicken wire roof base. My main concern with this was the forces of lift presented by air flow over the roof at high speeds. Then it seemed reasonable that for my car, highway speeds weren't exactly the norm. Also the forces of lift would stretch the areas between the wood slats more than areas glued to the slats, not to mention areas that might break loose. These are just my ramblings and may or may not be the reasoning, of course not using glue makes the process of tightening the finish covering much easier to accomplish. The main reason I decided to do this myself is the total material costs were under $150 dollars including the rain channel. So if it doesn't turn out well it can always be redone. No big loss. My assumption is a professional shop would be a lot more than $150 dollars.
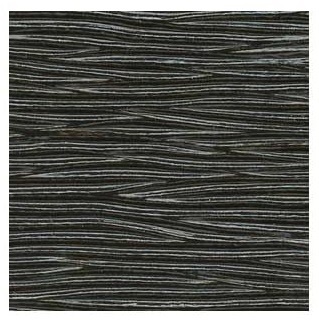 |
The materials I am using are readily available from a
Model A Ford parts supplier. I was advised by the POC Tech
advisor for the 29U that the Cobra long grain roof material
used on the Ford closed cars of the period was perfect for
the 1929-U. I was also told that Hidem Welt was also
acceptable. Due to the lines of the rear moldings and rain channel, I will be using Hidem Welt for the rear trim and merging the welt to the rain channel. I believe this will blend well and create a pleasing aesthetic and weatherproof transition between the steel skins and wood framed roof. |
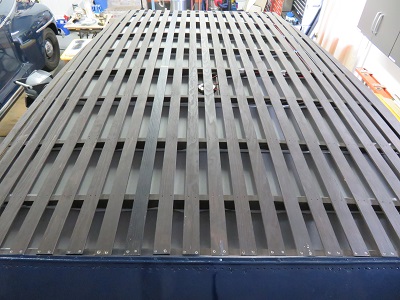
The first step was to inspect the roof for anything sharp which might be able to poke through the roof pad and eventually damage the finished roof.
The second step was to trim the roof pad to the car's roof line. For my car, the side roof members are not perfectly symmetrical so I will use the pad to make a nice even taper to the car's metal skin.
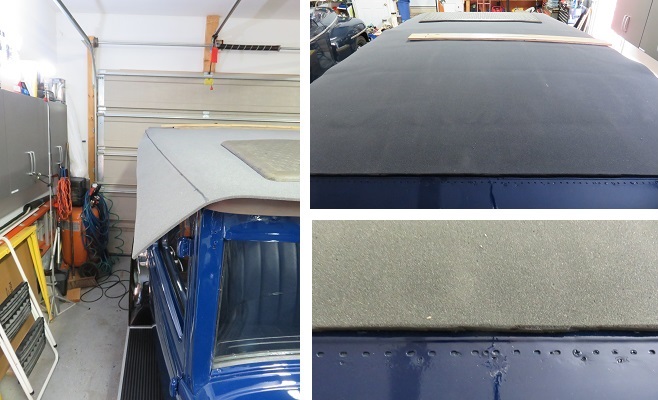
Note: When trimming any material I will always err on the side of larger than smaller. After all you can always trim more off but it is much harder to put material back once cut.
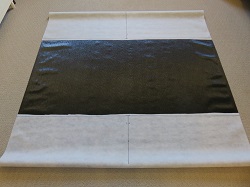 |
Before installing the finish top material, I marked a center line on the bottom side of the material so that I can ensure that the grain lays perpendicular to the windshield. |
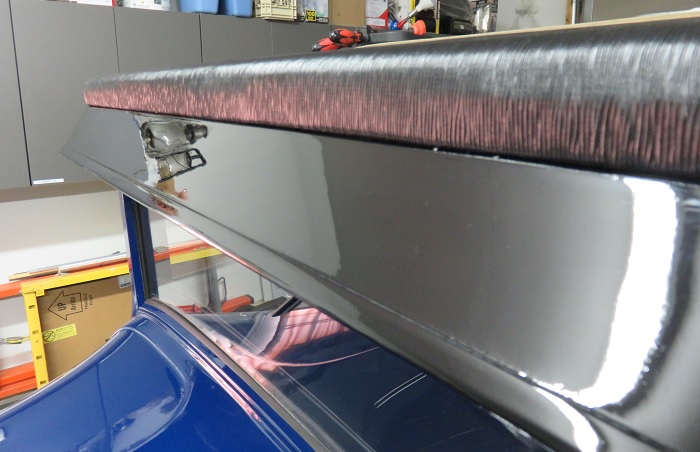
Once the top material was positioned on the car I checked the center alignment front and back. It rolled on perfect so I decided to start with the hardest end, the rear roof trim.
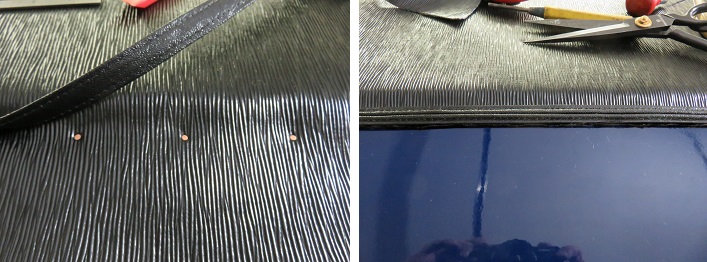
The nail holes on the rear steel skin are spaced 5/8" apart from each other. I decided to space the first set of nails 2 1/2" apart. This way when I nail the Hidem Welt I will start with a 1 - 1/4" offset so that the end result is a nail through the roof material every 1 - 1/4 inches. I used brass plated steel ribbed nails #17 x 3/4" which are generally used for fastening weather stripping.
Once the rear section was secured I ensured that there was no slack in the material and cut and stapled the front material in place.
Once the roof material was in place I installed the windshield hood. So far everything is working out to plan. All this work took a lot longer than this report might imply. Very tedious work that took many hours. Anyway, on to the side trim and rain channel.