The Roof - Part II
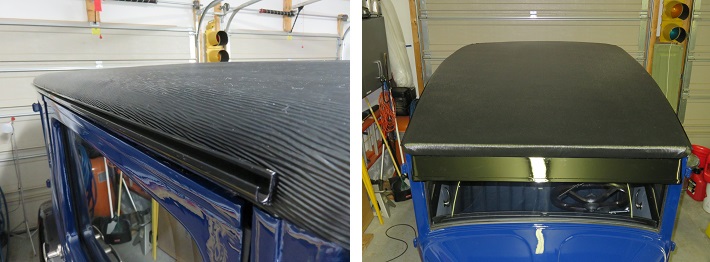
With the front and back of the roof secured and tight, I moved on to trimming and finishing the driver's side of the roof.
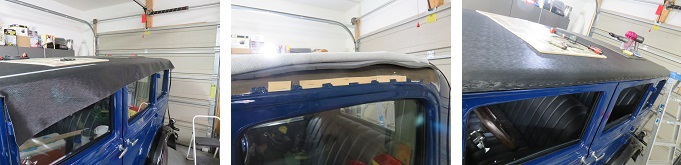
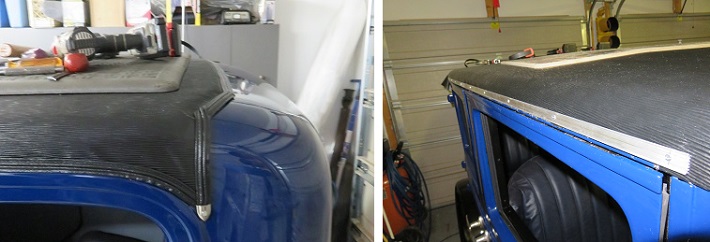
I stapled the roof material as close to the metal door trim as possible. These staples will be hidden by the aluminum rain channel. I decided to blend the rain channel to the Hidem Welt at the rear door hinge pillar. I could have gone further down the rear window edge line but would not be able to bend the rain channel around the rear window's curved roof line. I also needed to shim the area around the rear window to compensate for divots between the rear skins nail hole tabs. If I didn't do this the result would be an uneven edge trim around the top of the rear window.
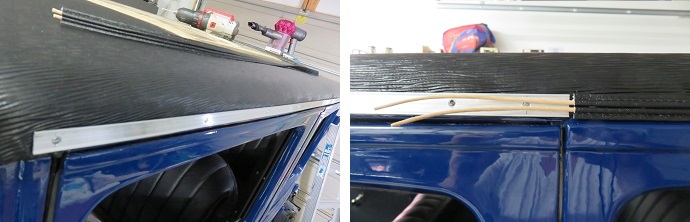
I installed the track for the aluminum rain channel. I cut it at 57 and 7/8". This is roughly a half inch smaller than the rain channel. The reason for this is so the Hidem Welt which is the same width, will fit nicely under the rain channel. Once the rain channel is installed it will look like the Hidem Welt is part of the rain channel. The cord used in the Hidem Welt can be slid in or out so you can flatten an end if required. Since I needed to do this in order to join the rear roof trim to the side trim, I left it uncut.
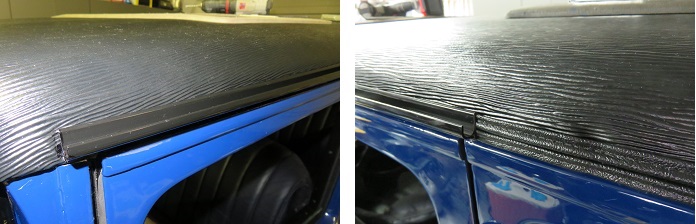
After I cut and painted the rain channel I installed it. The channel needs to be bent to the shape of the roof prior to installing. It snaps into place by aligning the top of the channel onto the track and than then snapping the bottom into place. I used a piece of lath board and a small hammer to accomplish the task. As you can see from the picture above and to the right, the rain channel merged great with the Hidem Welt.
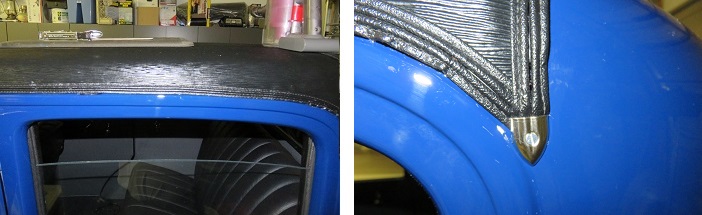
In the picture above and to the right you can see by removing the cord on the rear window trim, I was able to flatten the material. In doing this I was able to capture both the roof and the window trim in one metal end piece. This really looks nice and very professional.
After finishing the trim on the rear driver's side I started on the passenger side. At this point the process is the same as described for the driver's side. I think the results are worth the effort and considering the cost of materials, this project was clearly a winner.