Thursday May1, 2008.
-
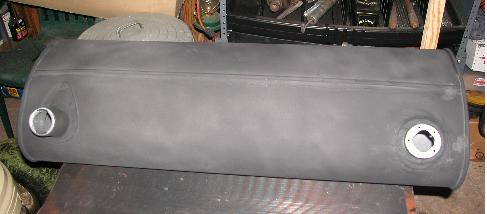
I continued working on my gas tank. The gas
tank has been a major problem since I purchased the car. I
cleaned it out when I first bought the car but after 300 miles the
tank still fills with rusty sediment.
-
My wife and I cleaned the inside of the tank by
pouring in about 5 lbs of 1/4" 632 screws that were being tossed out
by my current employer. In the past I have used rocks and
chain to sand the inside of a gas tank.
-
See the link from my 1948 restoration website:
Sunday September 18, 2005
|
|
-
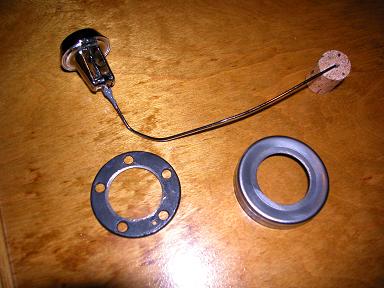
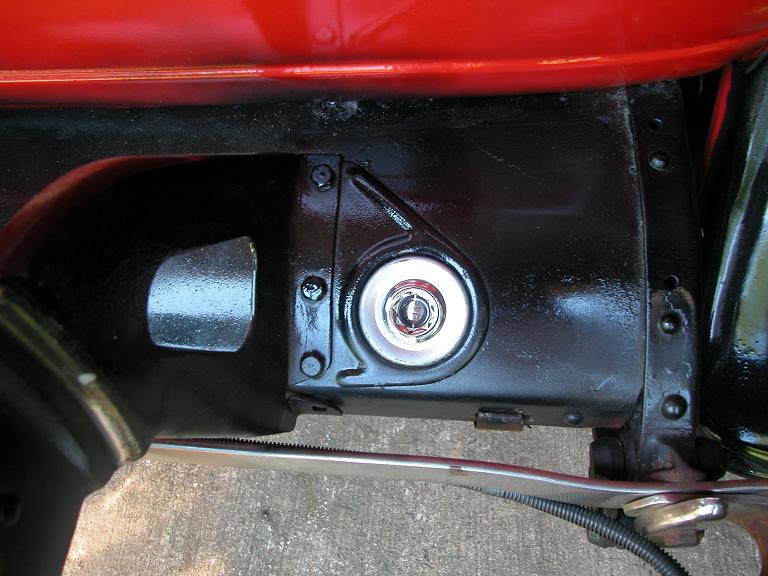
I bought a mechanical gauge for a Model A ford from
LeBaron Bonney for $35.00
-
It's not original to a 29 Plymouth but should service me
well until I can find an original gas gauge setup.
-
No original Plymouth parts were modified to support this
installation.
-
Well I did have to open up the circumference of the gauge
cap by about 1/32" to support the installation.
No biggie.
|
-
The tank was cleaned and painted inside & out.
-
The Master Series paint is great for the interior of a
gas tank and can actually seal pinhole leaks.
-
Rust is stopped in its tracks and there isn't a solvent
known that will breakdown down this paint mixture.
|
|
-
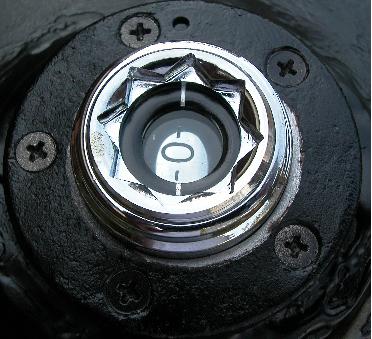
I was able to modify the float assembly so that the
gauge reads '0' at empty and just under 'F' for full. Of
course this part is not original for a 29 Plymouth but will be very
function until I can acquire a correct gauge in good condition.
-
Interesting enough the stock gasket for my 1948 P15
gas gauge was an exact match to the Modal Q's mounting flange.
I made a gasket to fit under the Modal 'A' gauge and used the thick
rubber gasket from the P15 to fill the space created by the rim of
the Ford gauge. I did have to trim the center hole of the P15
gasket to allow for the rim of the Ford gauge.
-
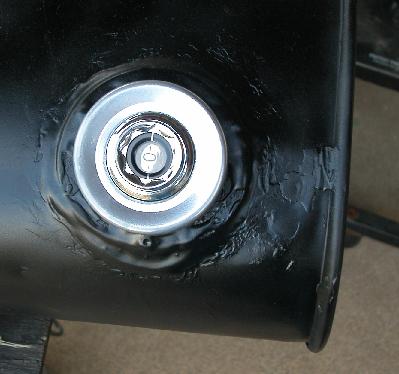
The patch work around the gauge flange isn't very
pretty but strong and leak free. Once installed this area
isn't visible so I didn't go the extra mile to pretty it up.
Installed in the car 6/9/2008
|